North American Classic Climbs
Temple Crag
Sun Ribbon Arête
|
North American Classic Climbs |
| |
|
| |
Temple Crag Sun Ribbon Arête |
Beta ![]() Images
Images ![]() Slide Show
Slide Show
|
|
|
Description |
Climbers* |
Photo* |
Date |
|
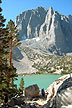
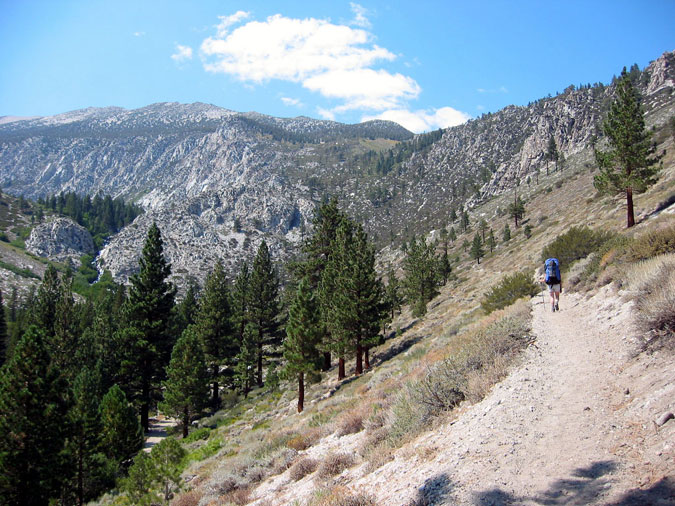
Low on the approach trail. |
LC |
GC |
09/01/02 | ||
|
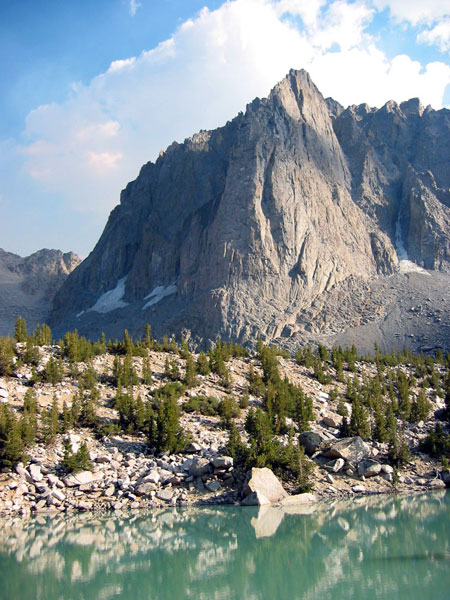
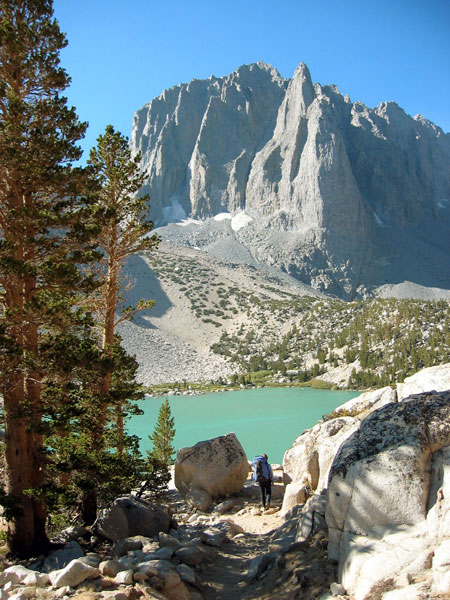
Temple Crag from the trail above Third Lake, the usual camping site. The buttress forming the left skyline is the "Moon Goddess." Sun Ribbon is the next arête to the right. |
- |
GC |
" | ||
|
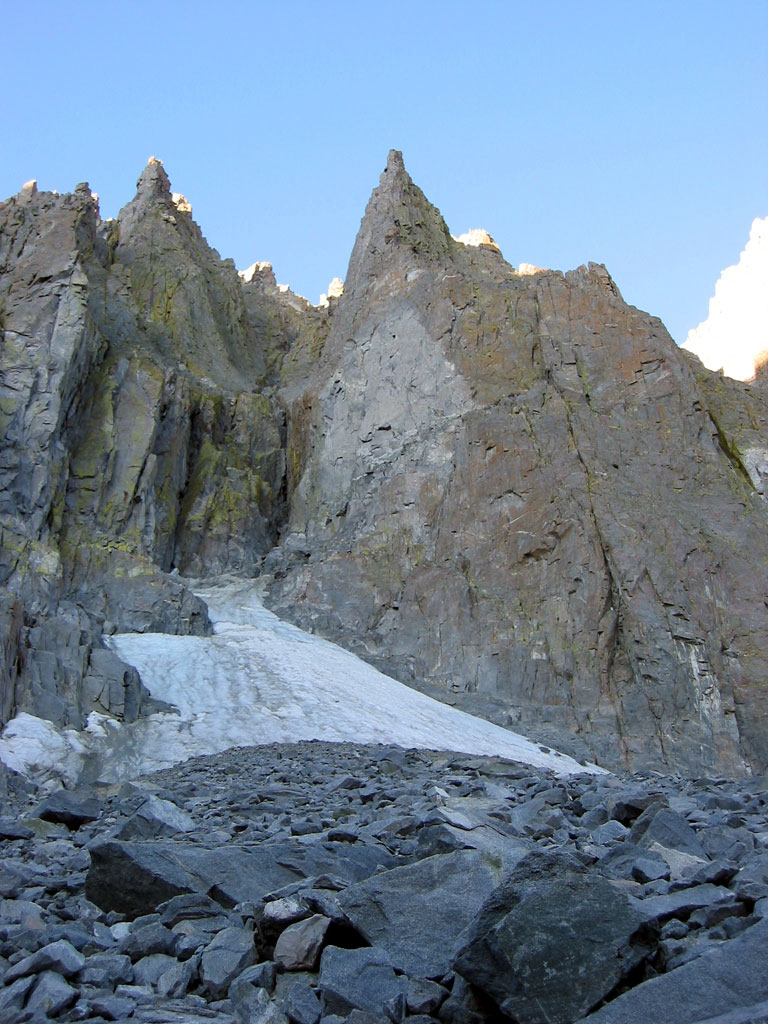
The couloir and the lower arête. This picture is late in the season, so you should expect correspondingly more snow earlier. The approach goes up the ledge that diagonals up to the right from the couloir, past the big patch of white rock. The first pitch is up the steep corner. |
- |
GC |
09/02/02 | ||
|
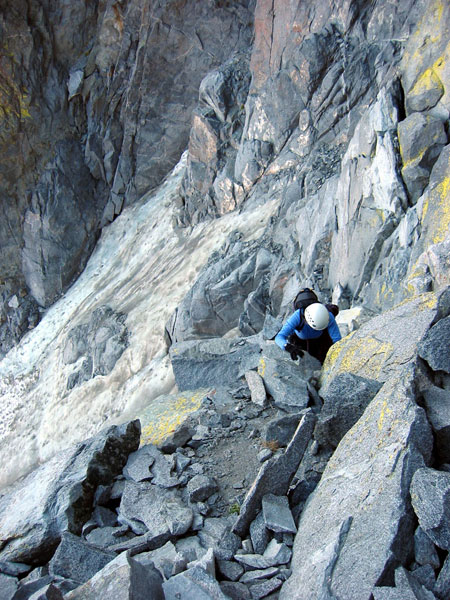
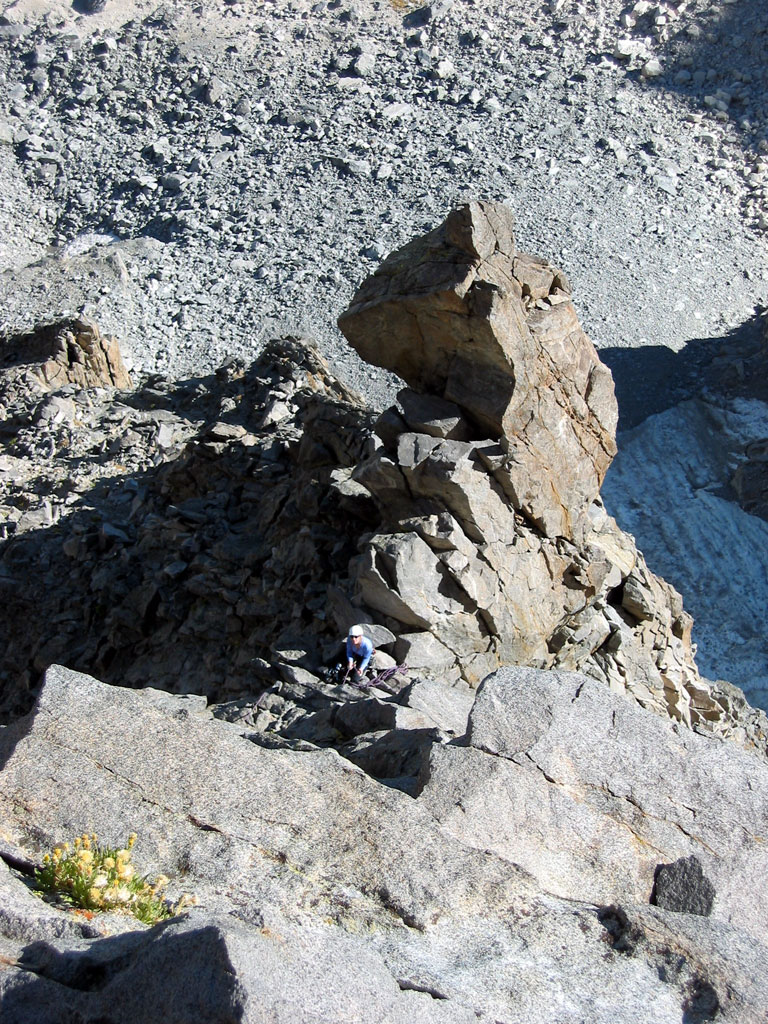
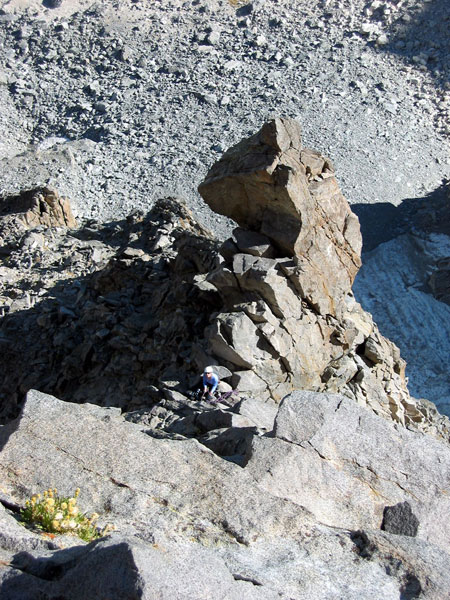
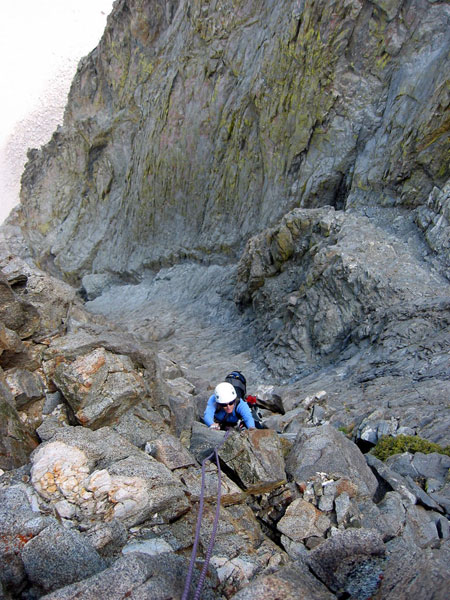
Approaching the ropeup spot on crumbly ledges. |
LC |
GC |
" | ||
|
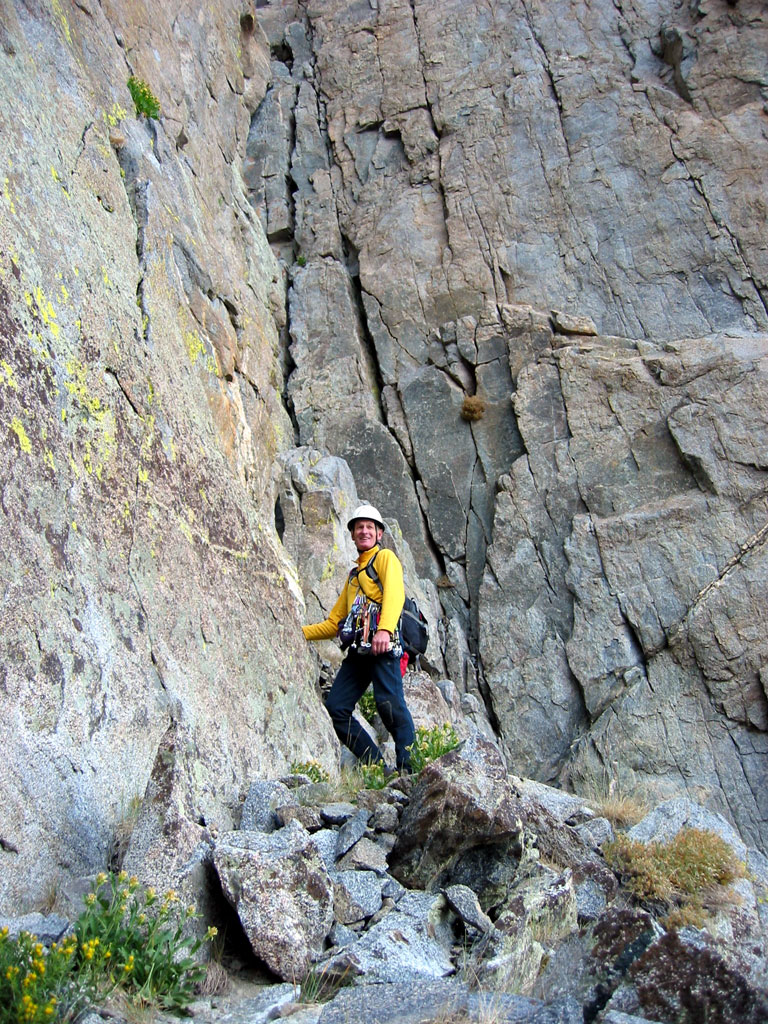
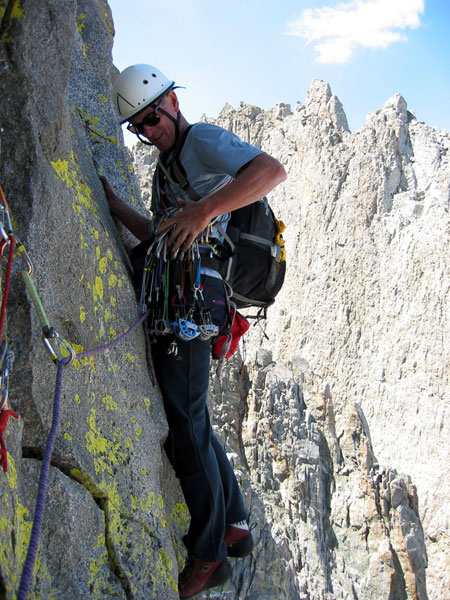
The route begins in the dihedral behind the climber. |
GC |
LC |
" | ||
|
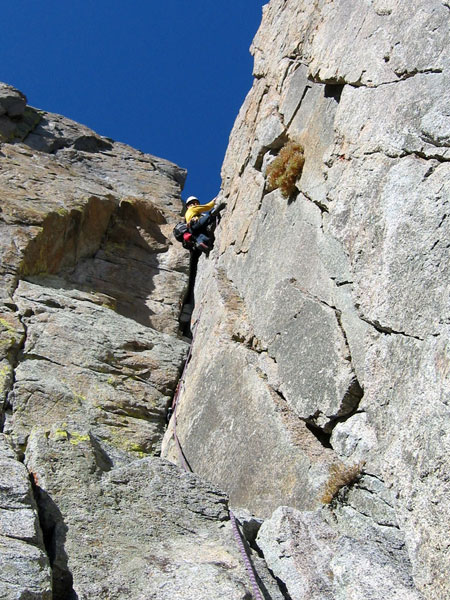
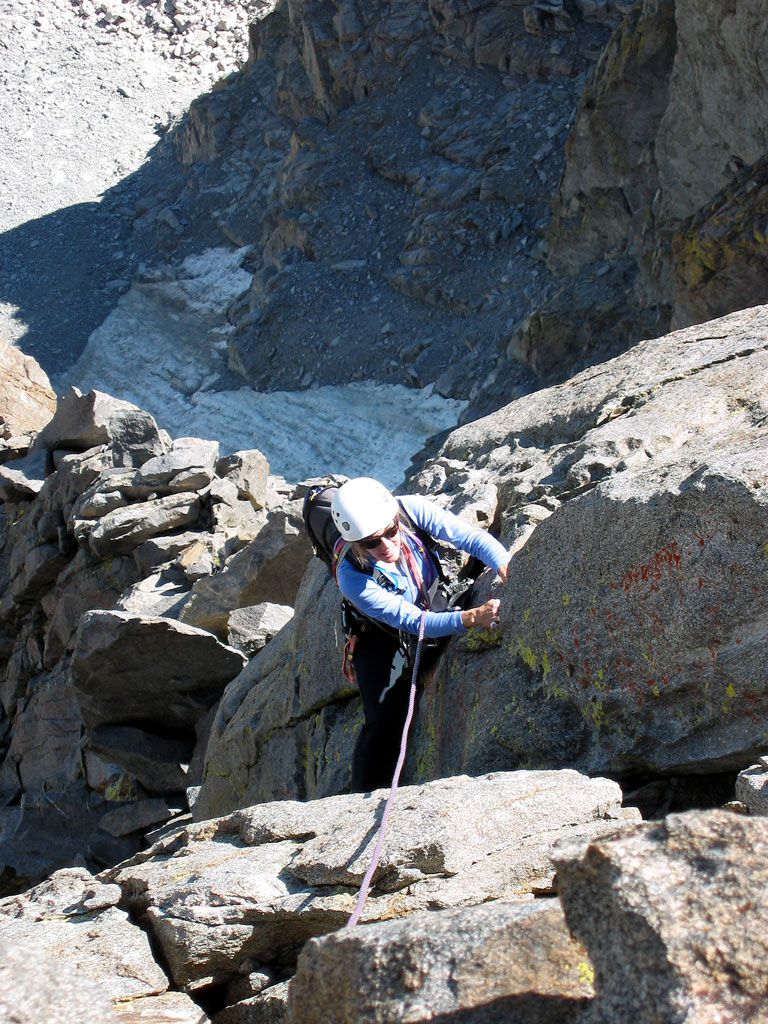
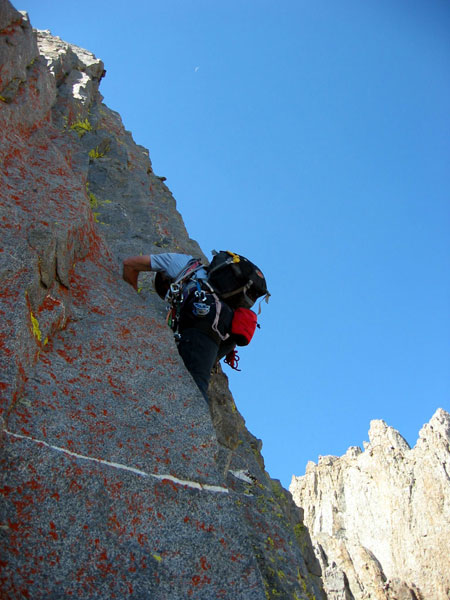
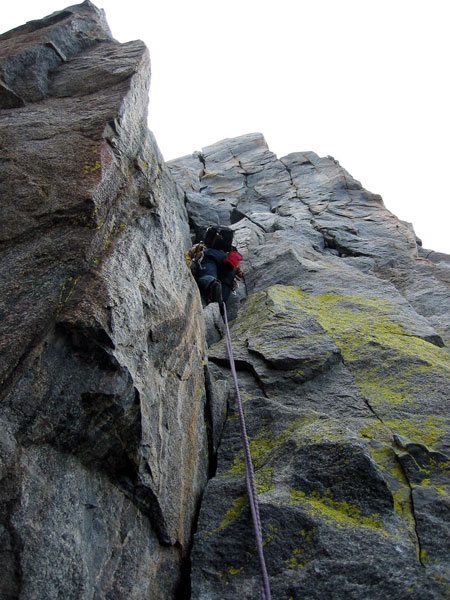
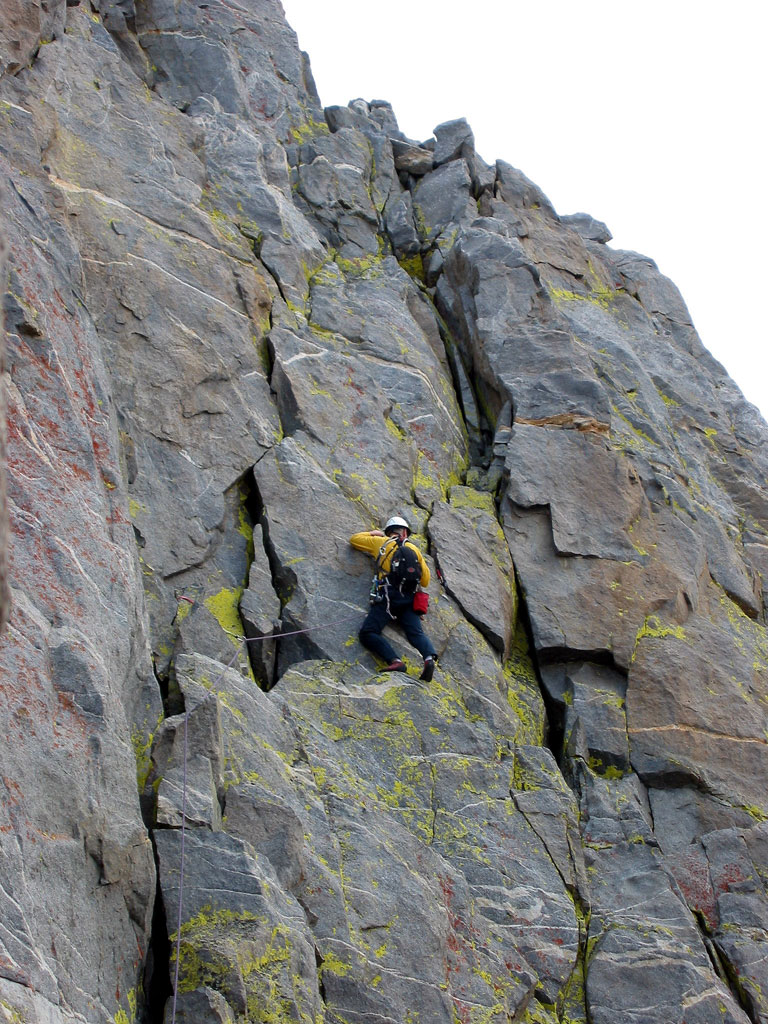
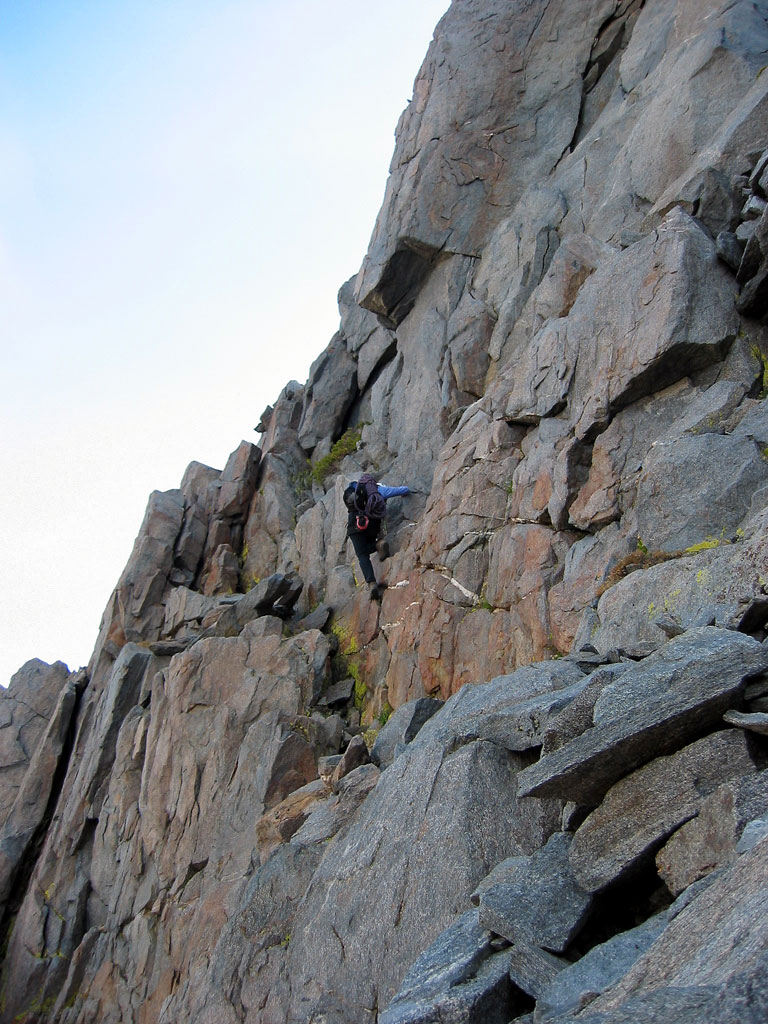
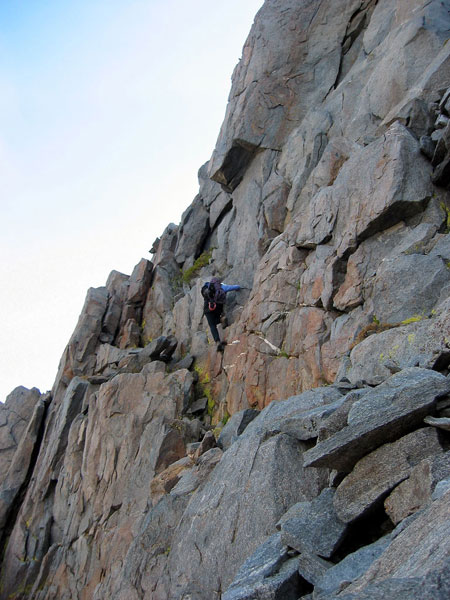
Leading the first pitch, one of the best. |
GC |
LC |
" | ||
|
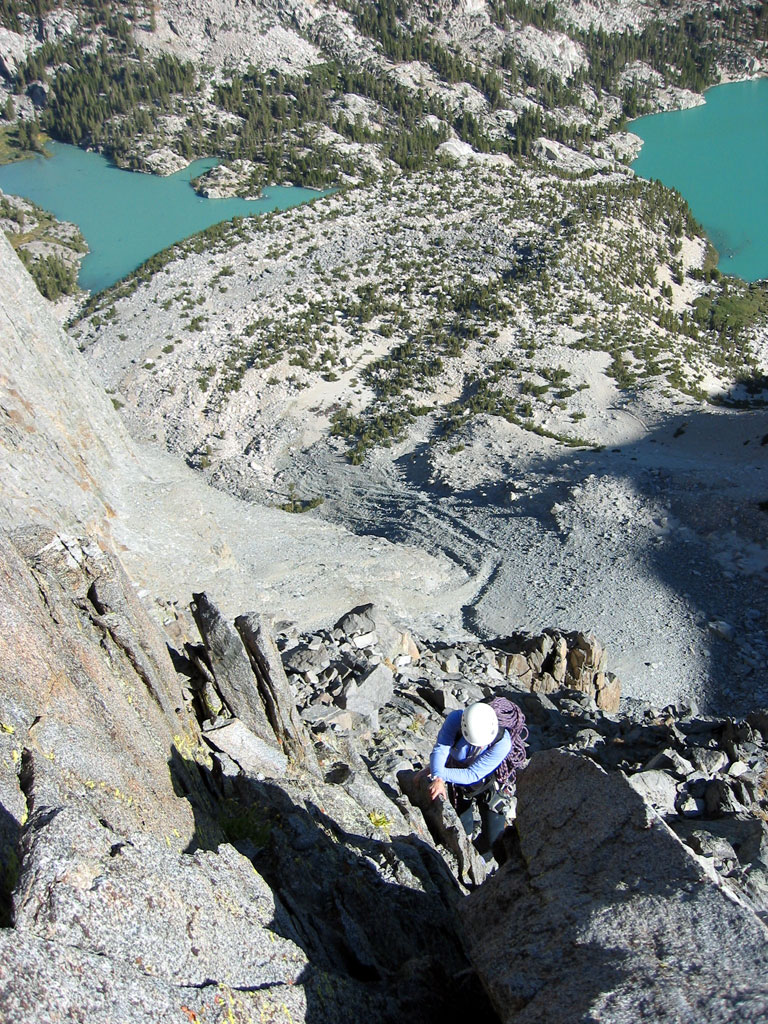
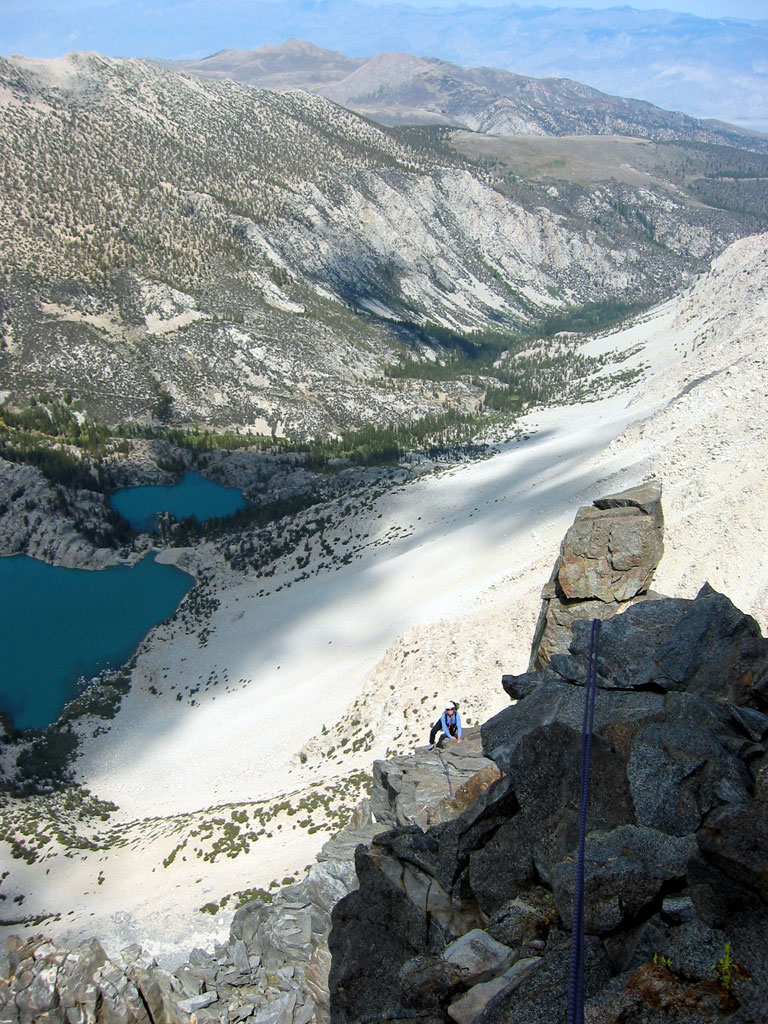
Scrambling the 3rd and 4th class section between the first dihedral and the beginning of more serious climbing. Third Lake is to the left, Second Lake to the right. |
LC |
GC |
" | ||
|
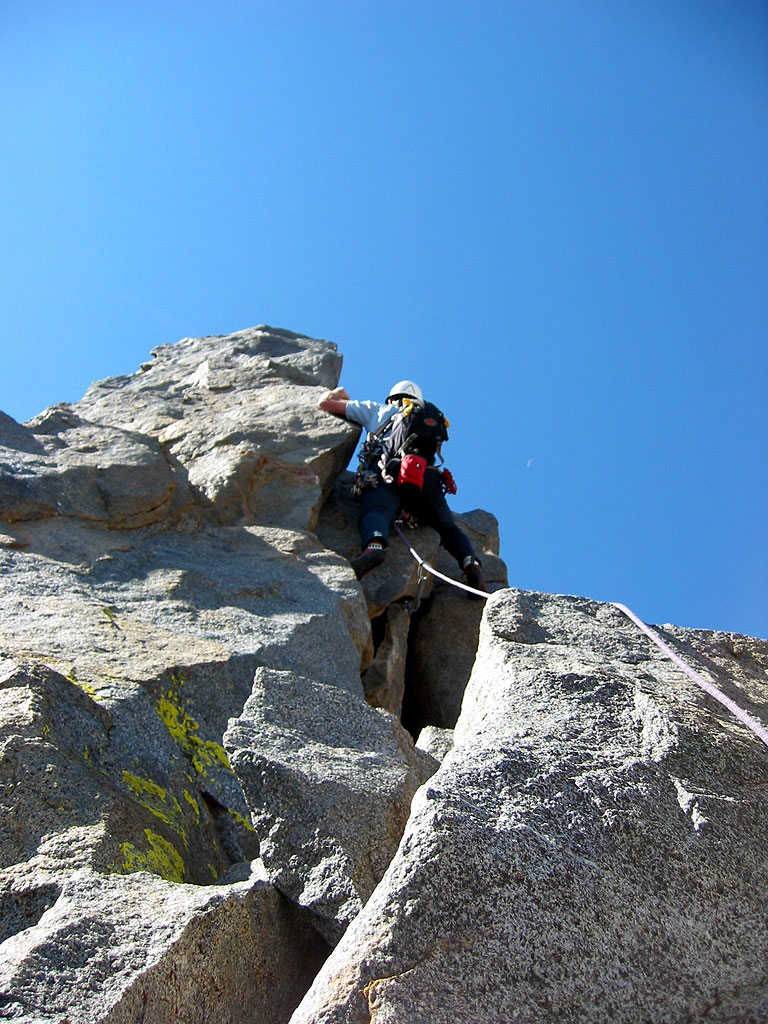
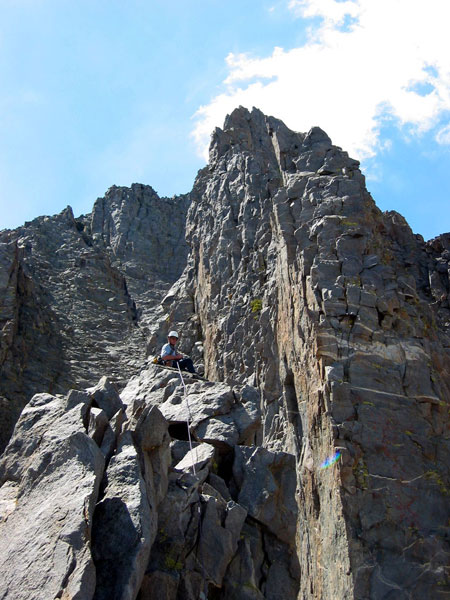
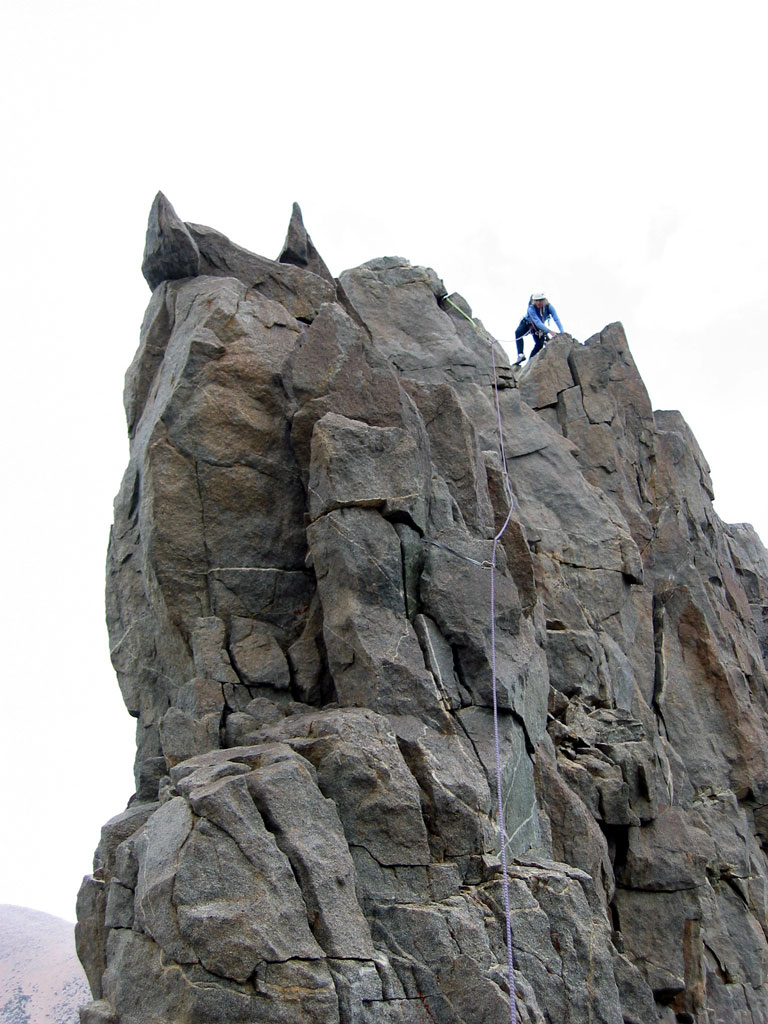
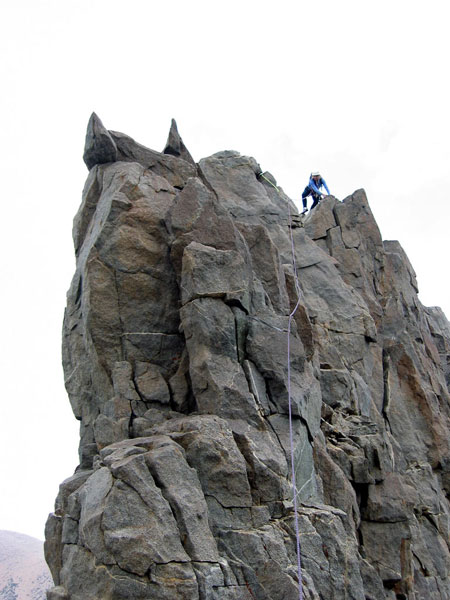
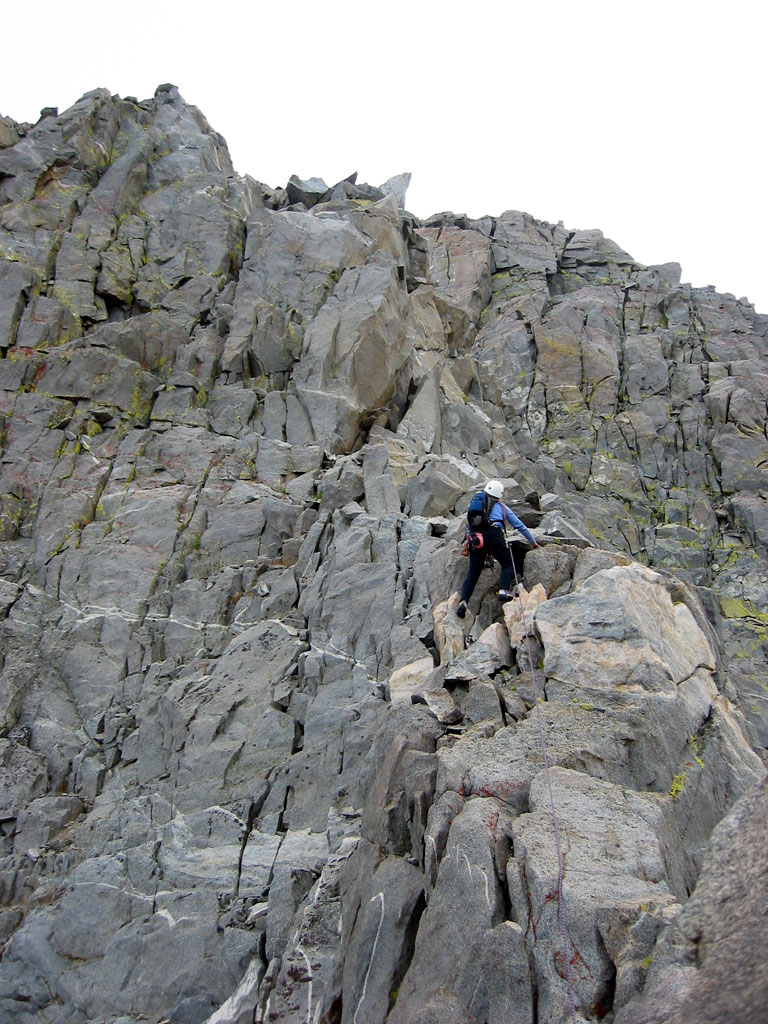
After the scramble, there are several pitches of clean steep arête. |
GC |
LC |
" | ||
|
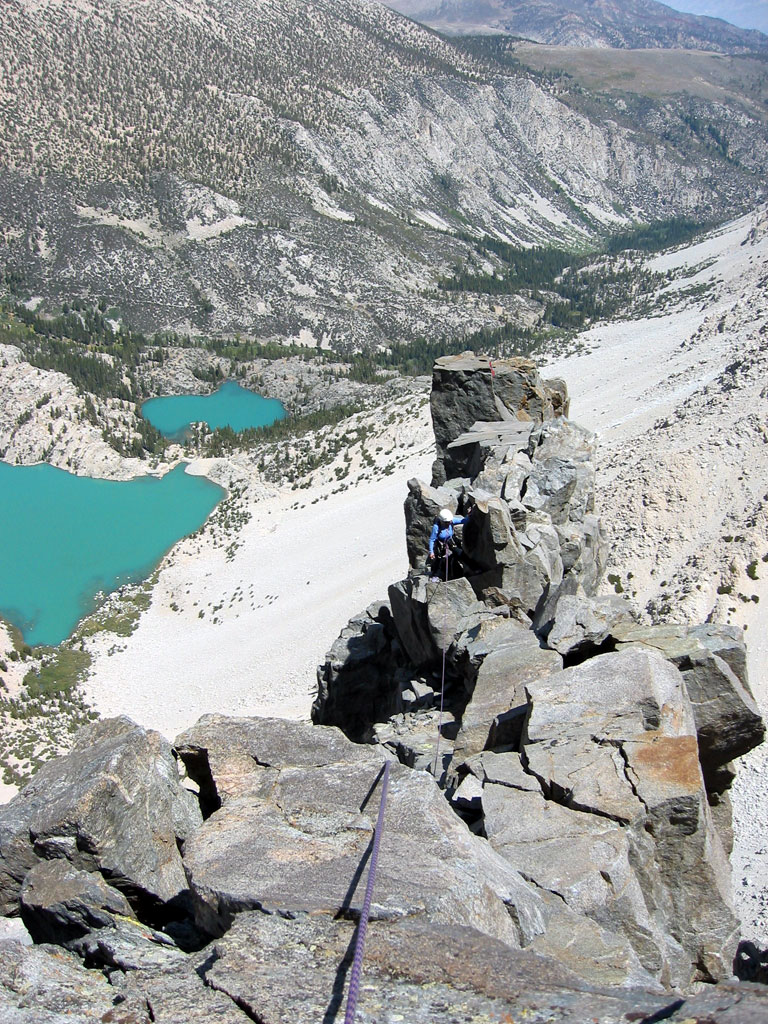
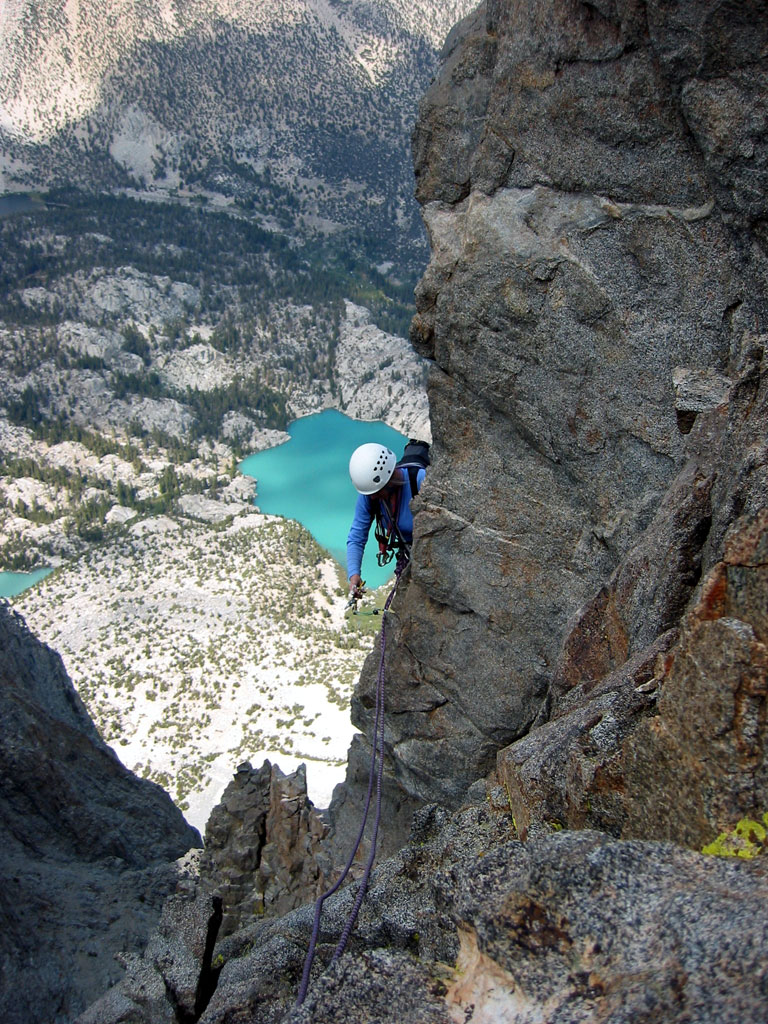
Looking down the lower arête to the first gendarme, around pitch 5. |
LC |
GC |
" | ||
|
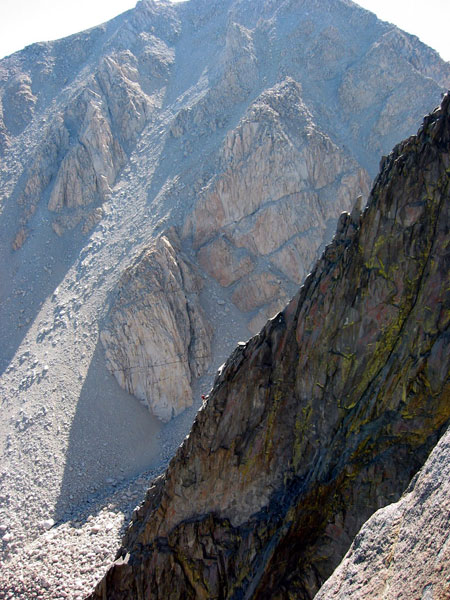
Climbers on the adjacent "Moon Goddess Arête," also a superb climb. |
? |
GC |
" | ||
|
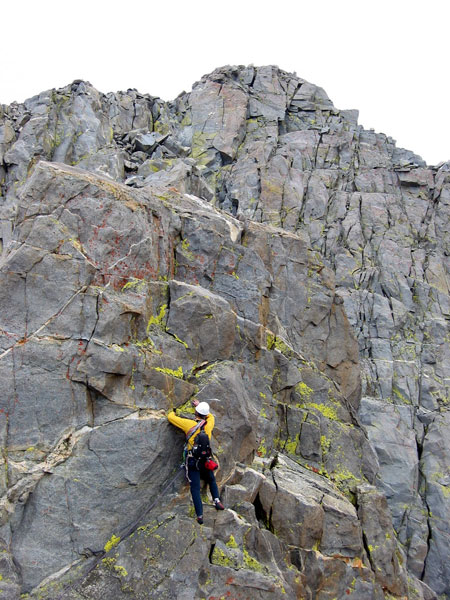
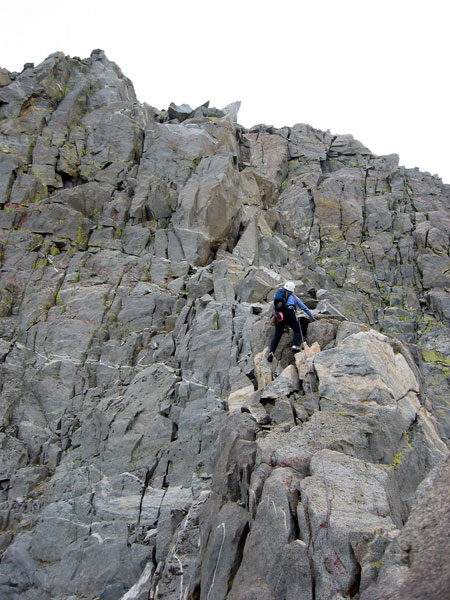
Around pitch 7. |
LC |
GC |
" | ||
|
A short traverse around a gendarme. |
GC |
LC |
" | ||
|
More fun arête climbing. |
GC |
LC |
" | ||
|
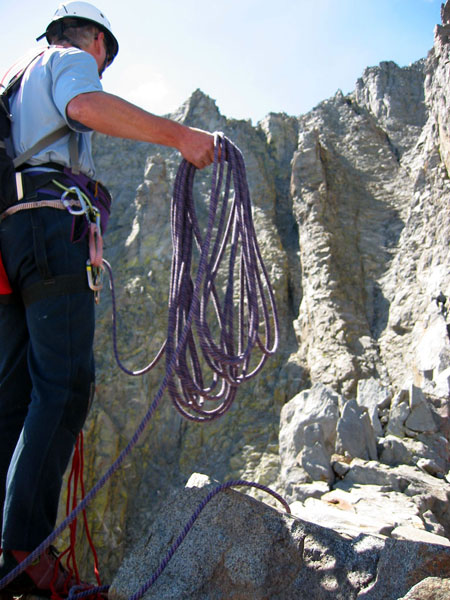
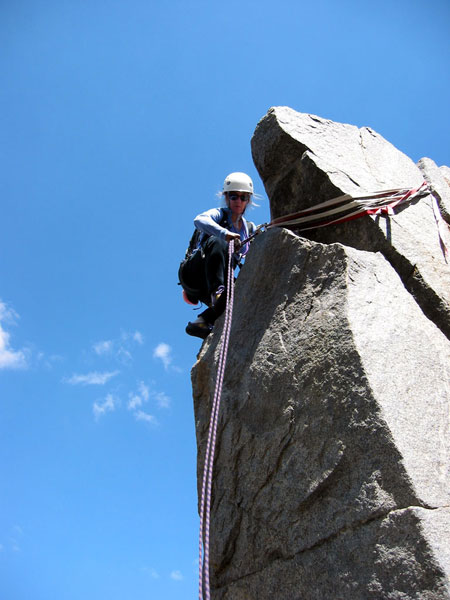
Attempting to lasso the short sharp horn on the other side of the gap to set up the tyrolean traverse. After 3 tries, I gave up. |
GC |
LC |
" | ||
|
Rappelling into the notch that the tyrolean was supposed to cross. |
LC |
GC |
" | ||
|
Leading a short pitch on the west side to regain the ridge after the rappel. |
GC |
LC |
" | ||
|
Looking back from the belay of pitch 8. This pitch begins a long section of almost horizontal ridge with many gendarme passages. |
LC |
GC |
" | ||
|
Looking up the ridge from pitch 8. |
GC |
LC |
" | ||
|
Another short rappel from a gendarme, pitch 9. |
LC |
GC |
" | ||
|
Following the 5.7 variation pitch 10. This bypasses the 5.9R pitch shown on most topos as the standard route. |
LC |
GC |
" | ||
|
Leading a dihedral high on the ridge. |
GC |
LC |
" | ||
|
Looking back down the ridge to First Lake and Second Lake. |
LC |
GC |
" | ||
|
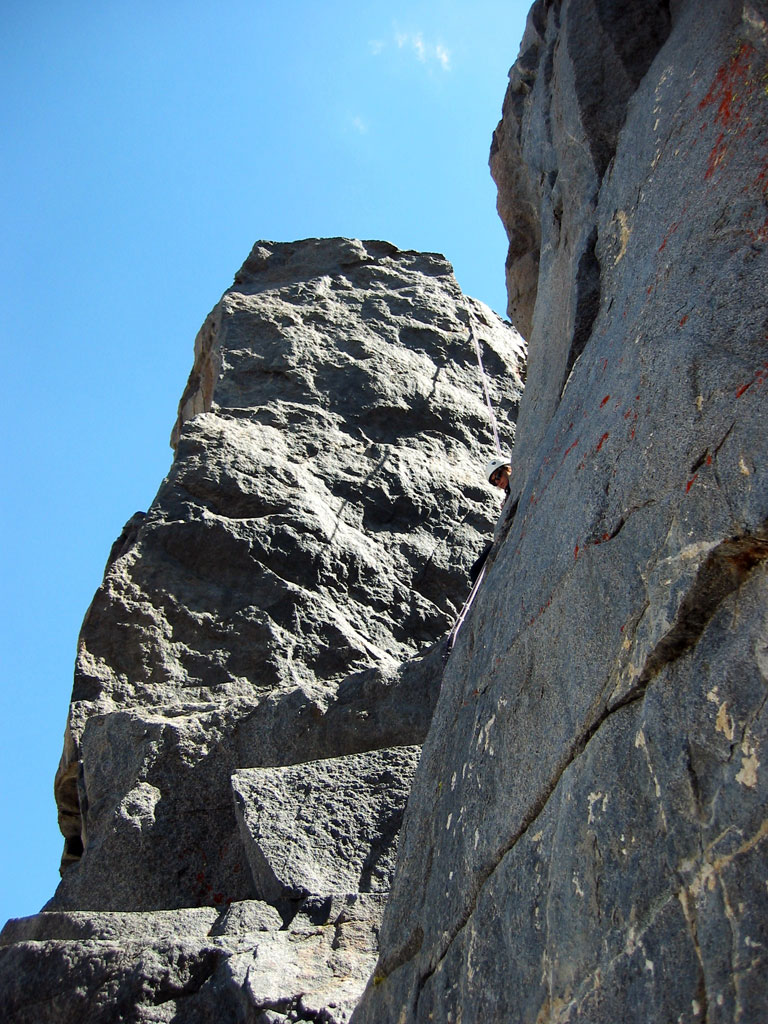
An exciting gendarme traverse. |
LC |
GC |
" | ||
|
Toward the top the difficulty eases, but the route finding stays interesting. |
LC |
GC |
" | ||
|
A steep face to the west provided some challenging climbing in the final stages. Don't get too far from the arête in this upper section. |
GC |
LC |
" | ||
|
More excellent ridge climbing. |
GC |
LC |
" | ||
|
The final "pitch", which could be scrambled. |
LC |
GC |
" | ||
|
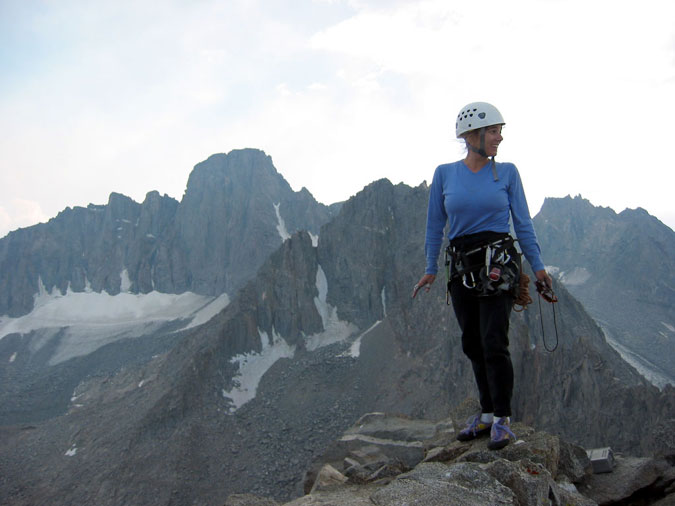
On the summit ridge. |
GC |
LC |
" | ||
|
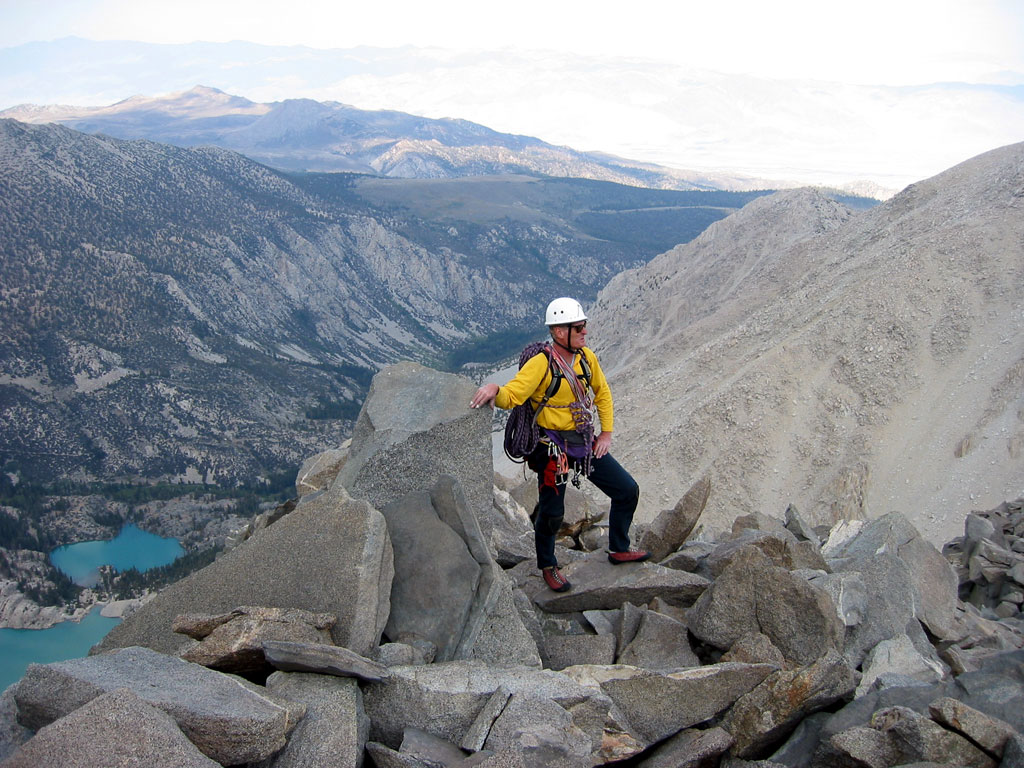
On the true summit. The hike up there is a long one, but is worth it if you have the time. The main Palisade crest is partially hidden behind Mt. Gayley, 13,510'. The massive peak to the left is Mt. Sill, 14,162'. |
LC |
GC |
" | ||
|
The lower section of the descent to Contact Pass has some 3rd and 4th-class. |
LC |
GC |
" | ||
|
The rappel to Contact Pass. |
LC |
GC |
" | ||
|
A final shot of Temple Crag from Second Lake. An alternate approach to a camp goes up the left side of this lake. |
LC |
GC |
" |
*Climbers & Photographers: Gary Clark, Lynn Clark