North American Classic Climbs
Rainbow Wall
Original (Hamilton/Herbst) Route
|
North American Classic Climbs |
| |
|
| |
Rainbow Wall Original (Hamilton/Herbst) Route |
Beta ![]() Images
Images ![]() Slide Show
Slide Show
|
|
|
Description |
Climbers* |
Photo* |
Date |
|
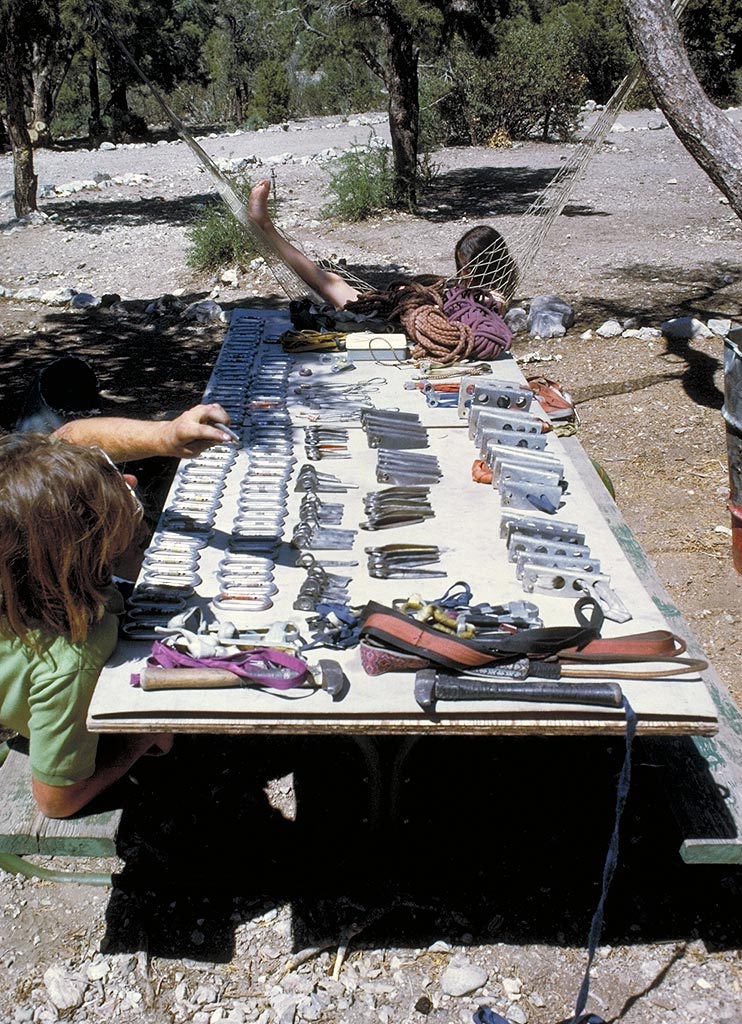
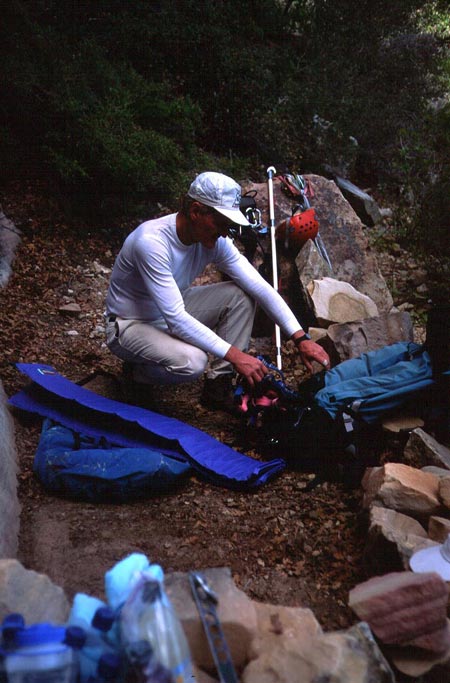
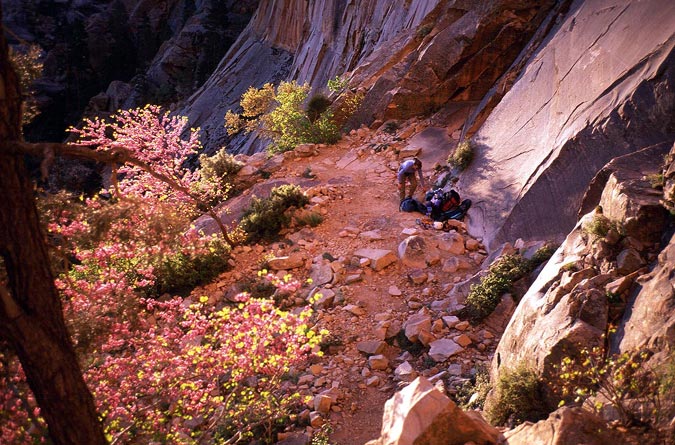
Sorting gear before the first ascent. |
JH |
LH |
4/73 | ||
|
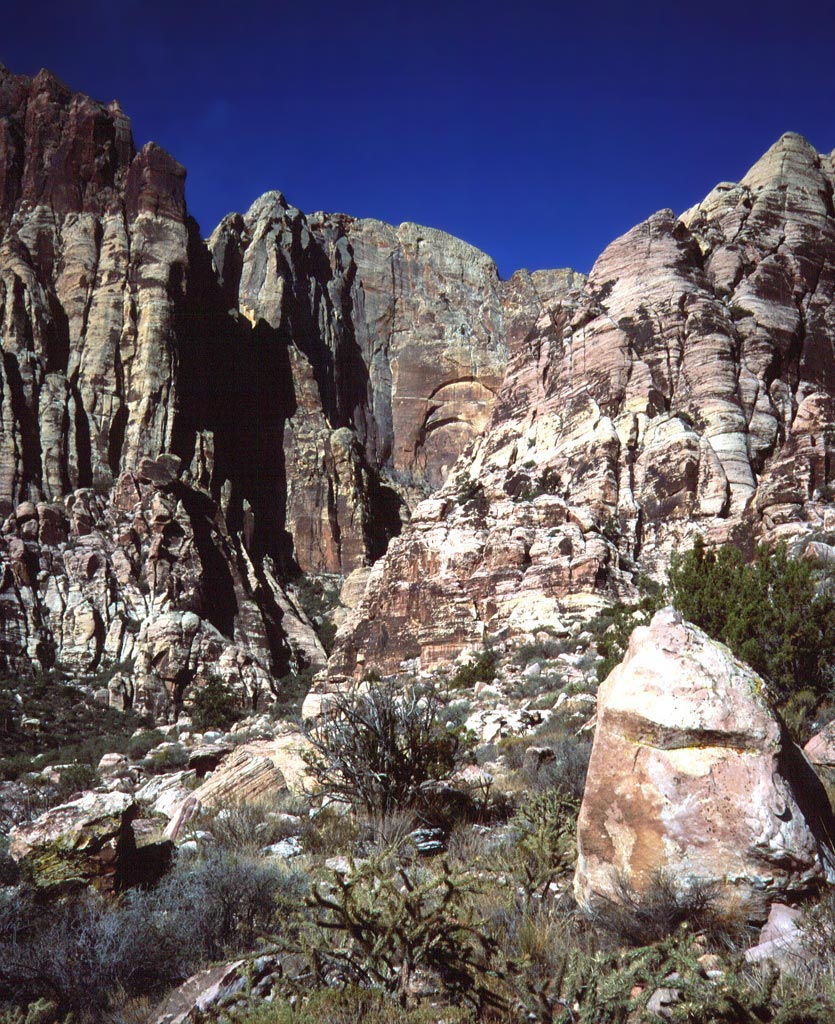
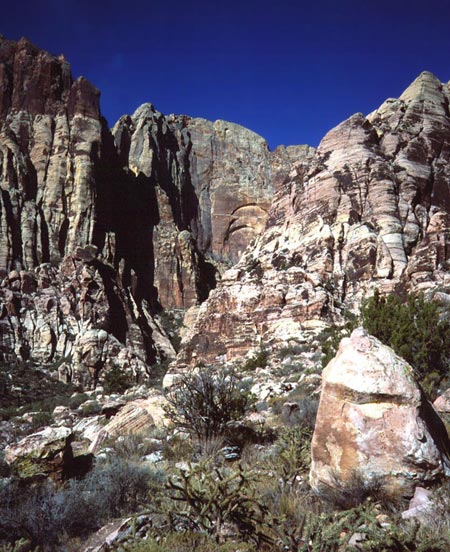
The Rainbow Wall from the approach up Juniper Canyon. The Crimson Chrysalis route is on the left. |
- |
GC |
5/13/02 | ||
|
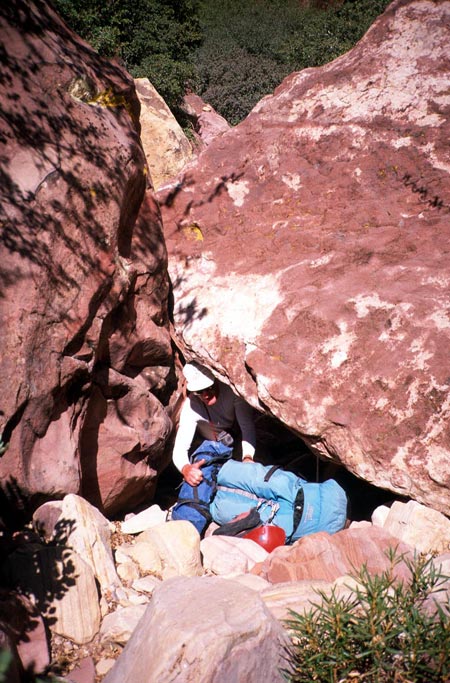
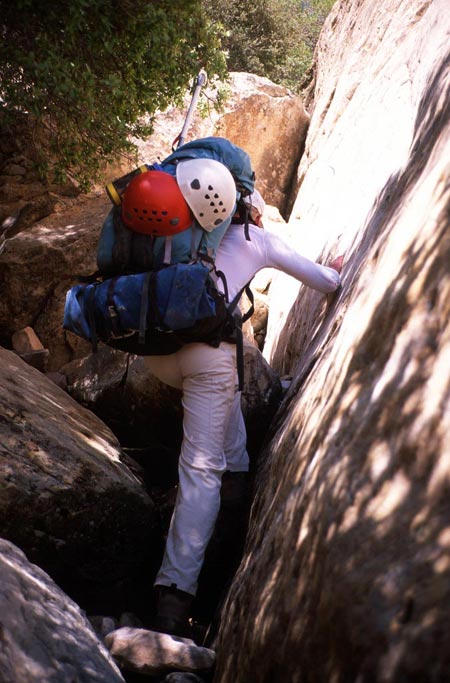
If you crawl through this tunnel below boulders at the entrance to the canyon, you are on the right approach path. |
GC |
LC |
5/13/02 | ||
|
Typical terrain on the lower portion of the approach. This is a tough hike with big wall gear. |
GC |
LC |
5/13/02 | ||
|
After a long hike, the approach gets interesting with a fixed rope up a water groove. Above this are long slabs and terraces leading to the base of the wall. |
GC |
LC |
5/13/02 | ||
|
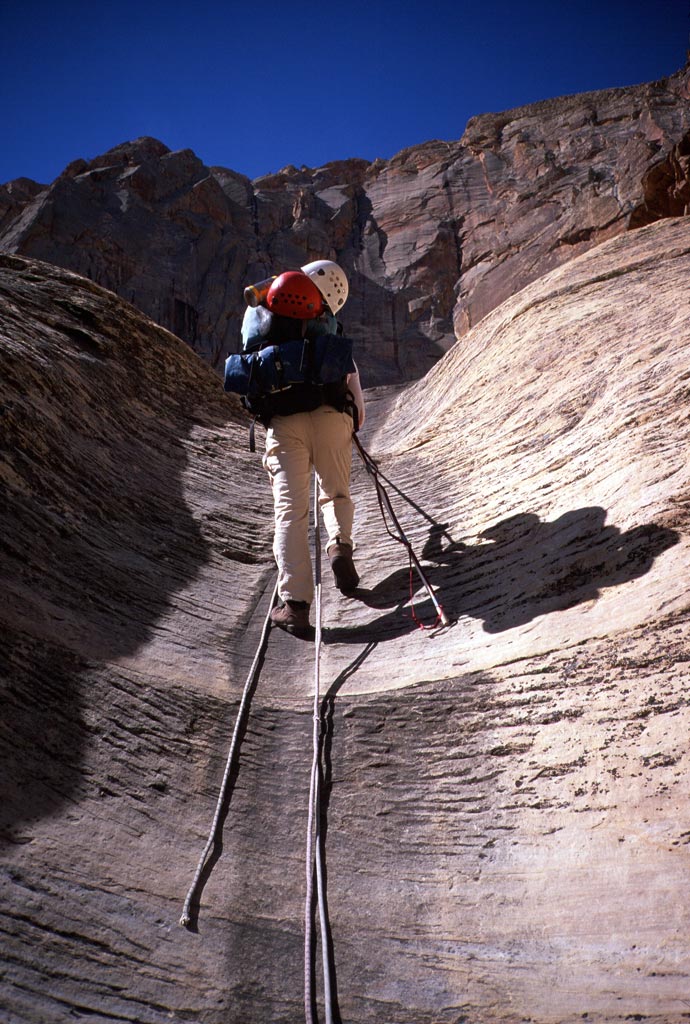
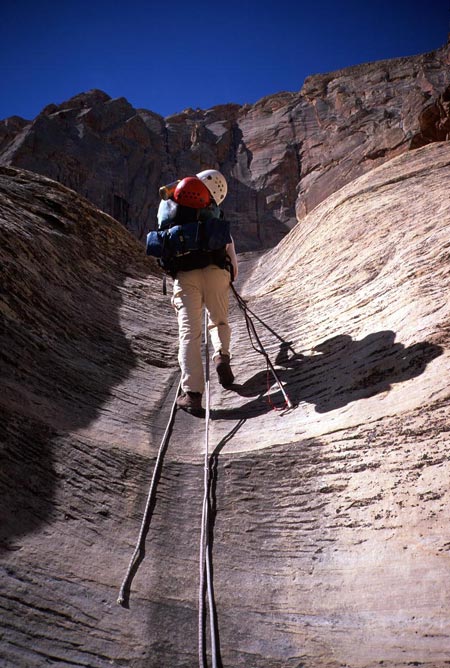
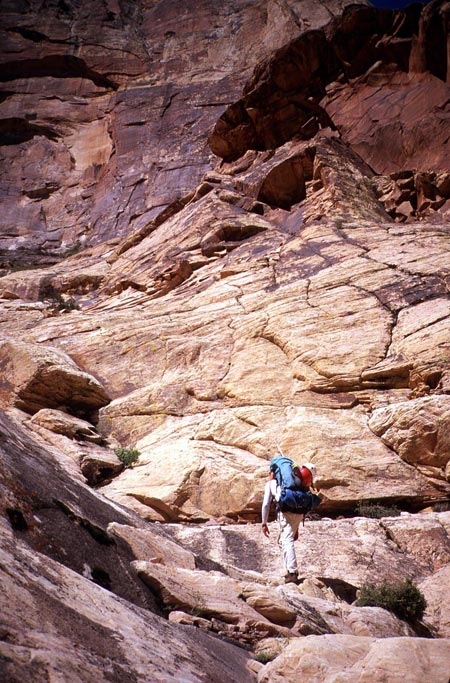
Hiking the slabs, which are just steep enough to keep your attention. |
GC |
LC |
5/13/02 | ||
|
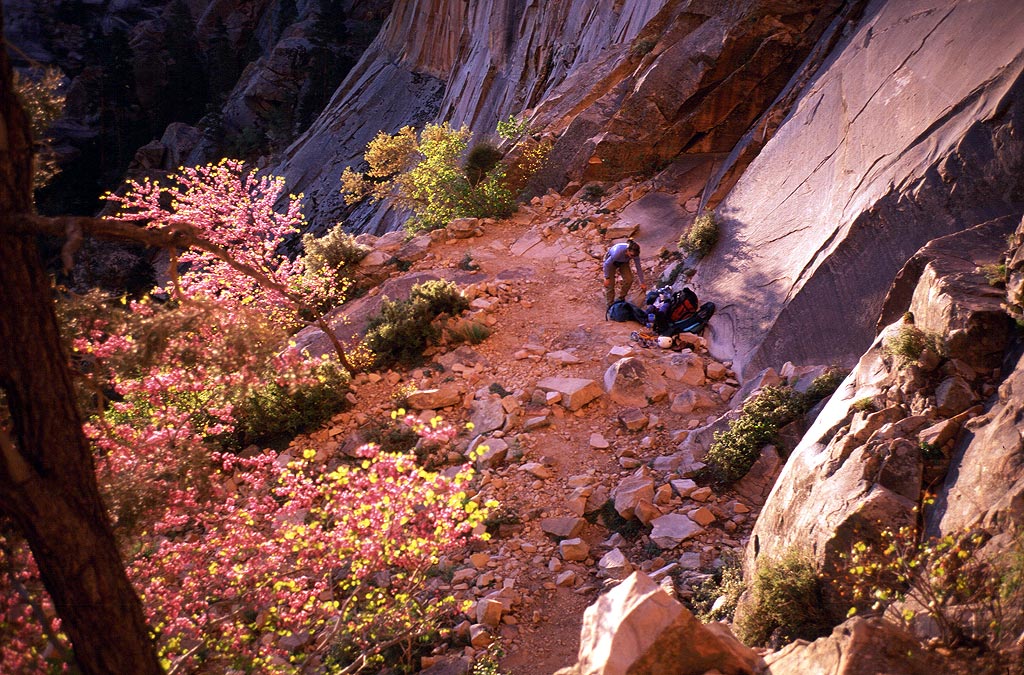
The lower of several possible bivy sites. This one is in the shade, and a few hundred feet below the start of the route. |
GC |
LC |
5/13/02 | ||
|
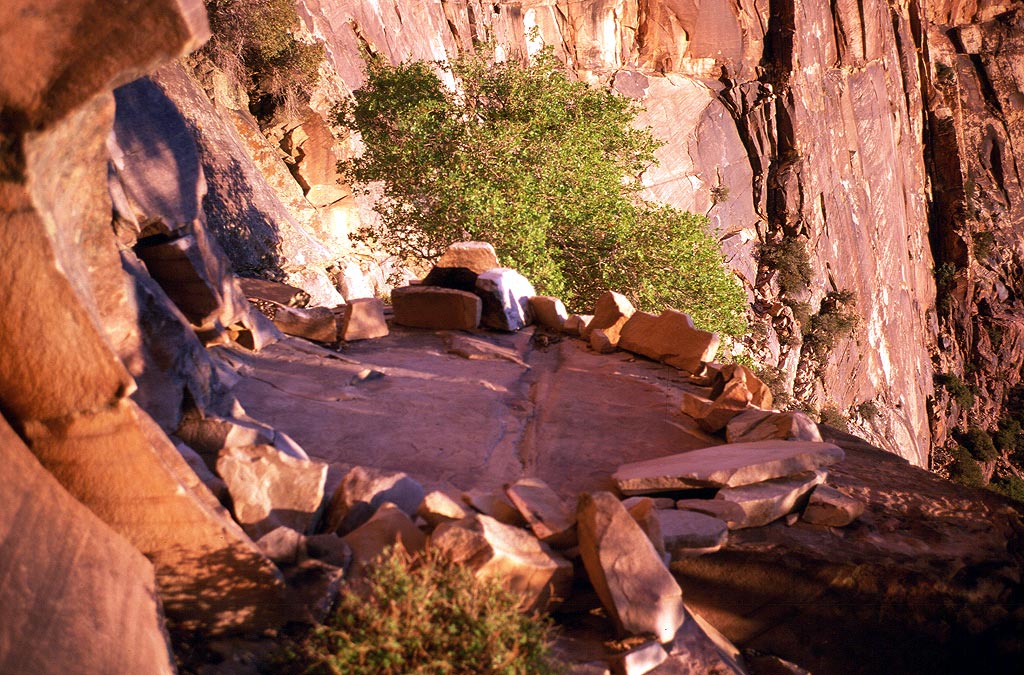
A higher bivy site slightly up and right of the start of the route, on solid sandstone. |
- |
GC |
5/13/02 | ||
|
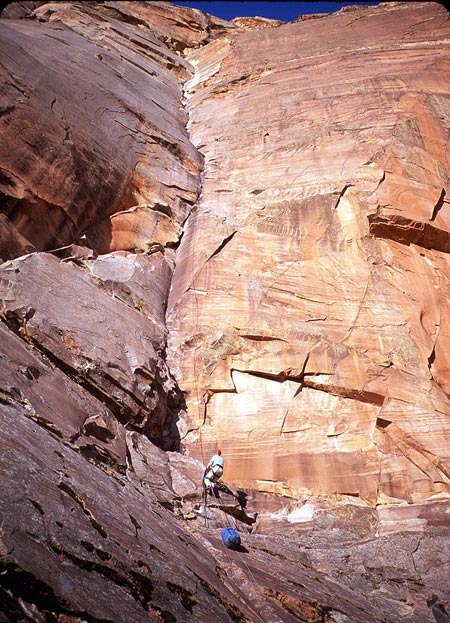
The base of the route, taken from the upper bivy site. Although flat enough, this spot is exposed to rock fall. |
LC |
GC |
5/13/02 | ||
|
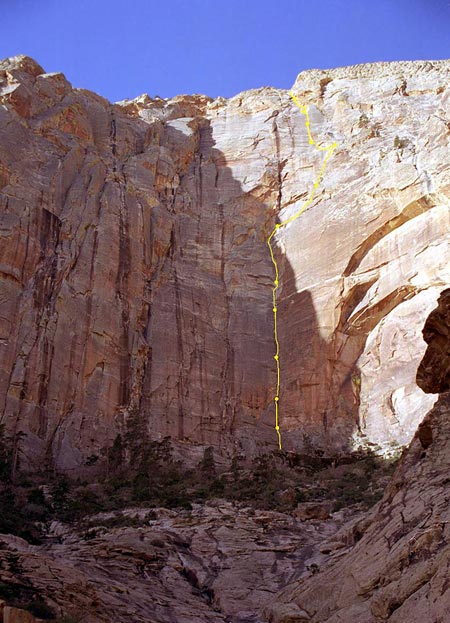
The route marked, with belay spots. |
- |
MI |
4/06/02 | ||
|
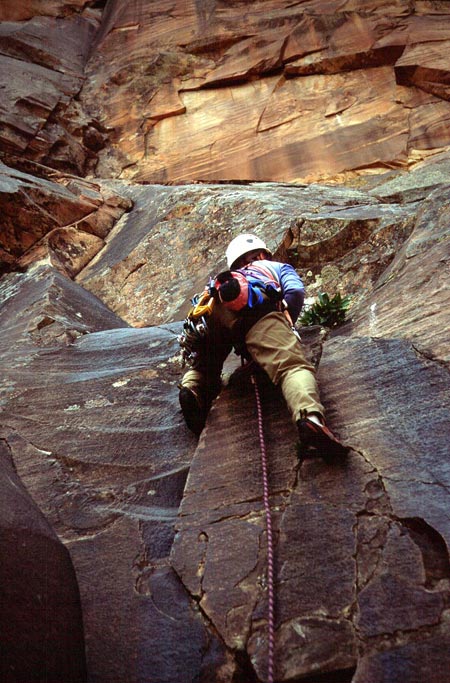
Leading the slabby first apron pitch, relatively casual at about 5.7. Above here the wall is vertical. |
LC |
GC |
5/13/02 | ||
|
Hauling the bag up the first pitch. |
GC |
LC |
5/14/02 | ||
|
Looking down at the shelf at the top of p. 1. |
LC |
GC |
5/14/02 | ||
|
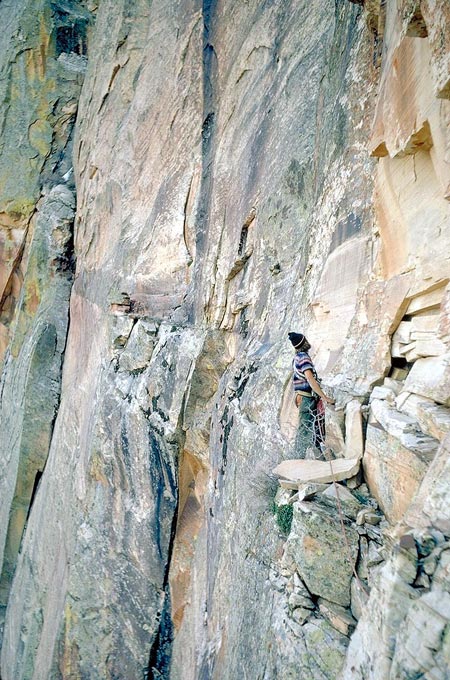
At the crux (5.12b) of the nearly featureless dihedral of pitch 2. |
MA |
MI |
4/06/02 | ||
|
A tricky mantle just below the belay, pitch 2. |
MA |
MI |
4/06/02 | ||
|
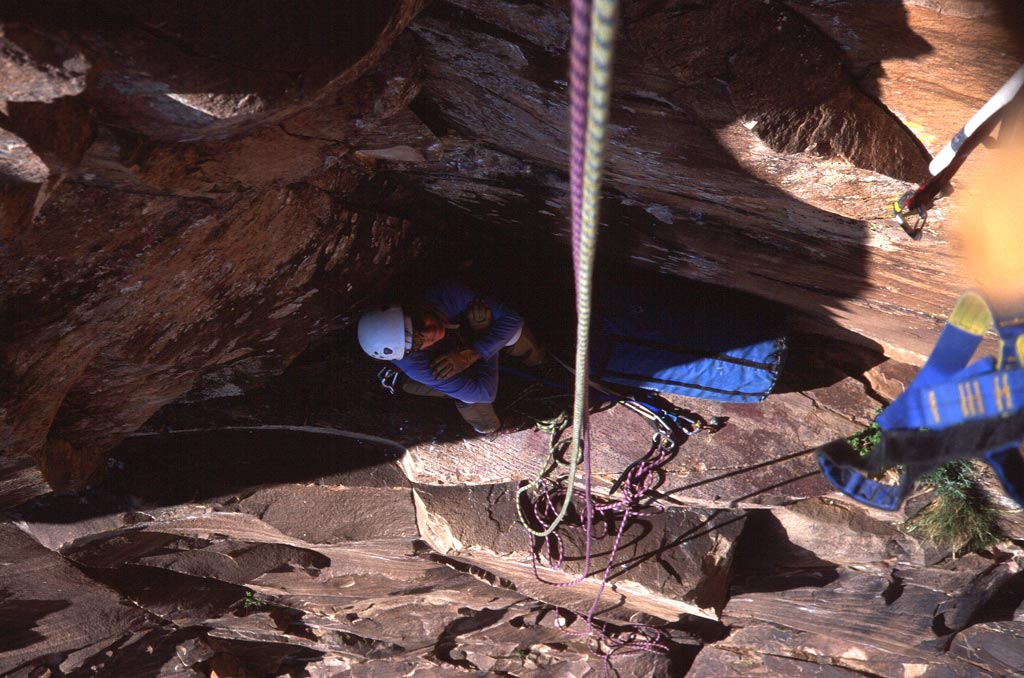
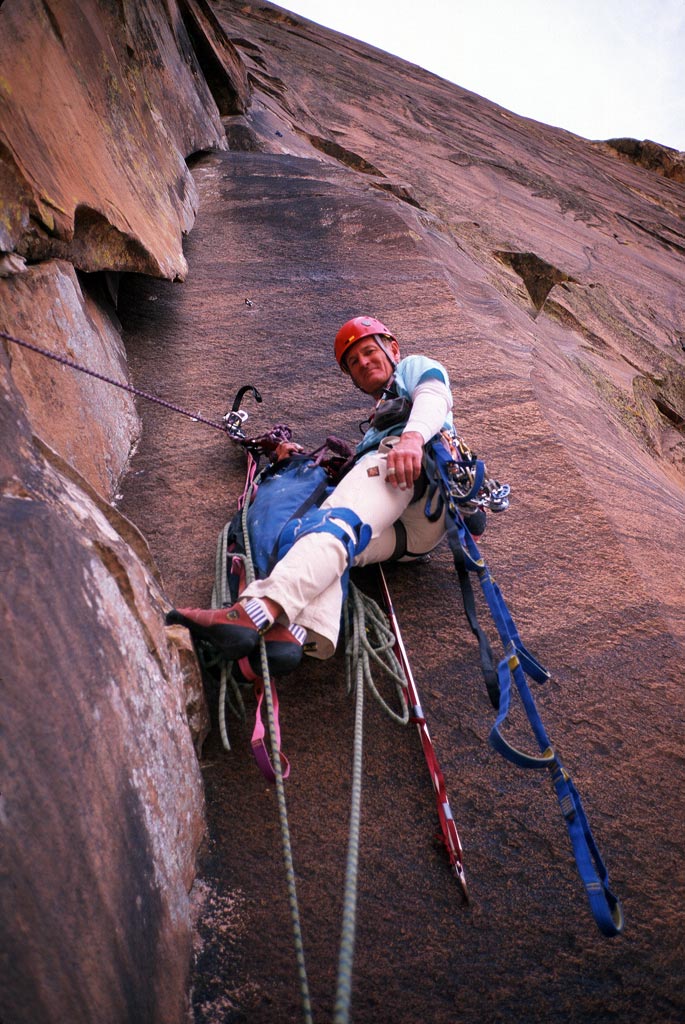
The hanging belay at the top of pitch 2. |
GC |
LC |
5/13/02 | ||
|
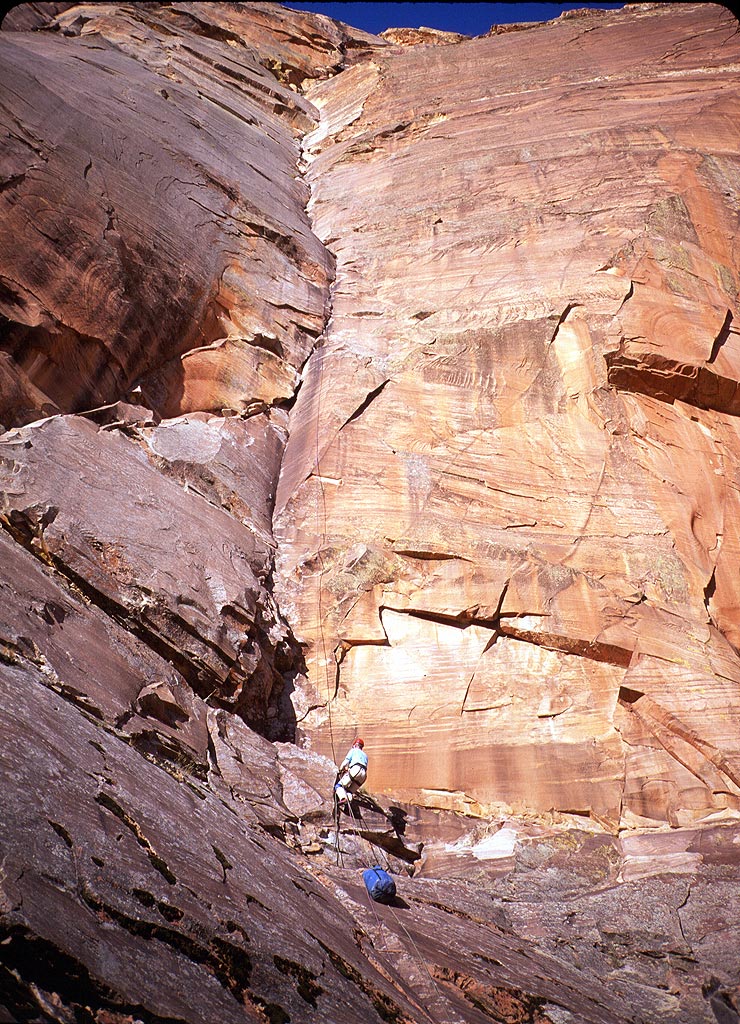
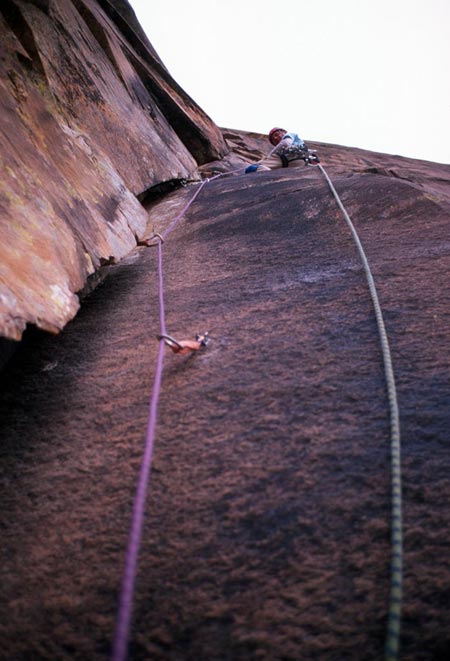
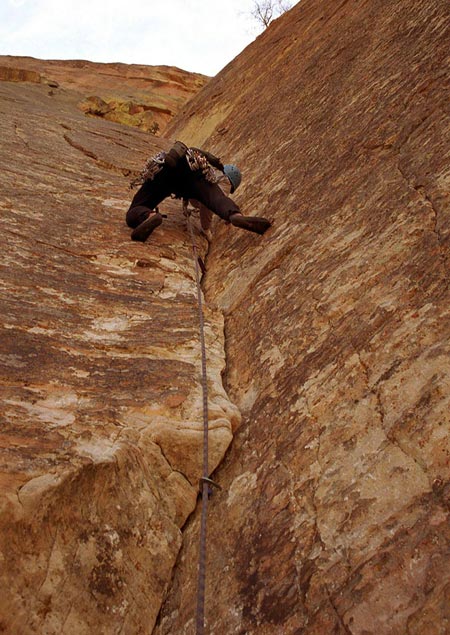
Looking up the very steep initial section of pitch 3. This is rated 5.8, but most consider it harder. |
GC |
LC |
10/22/02 | ||
|
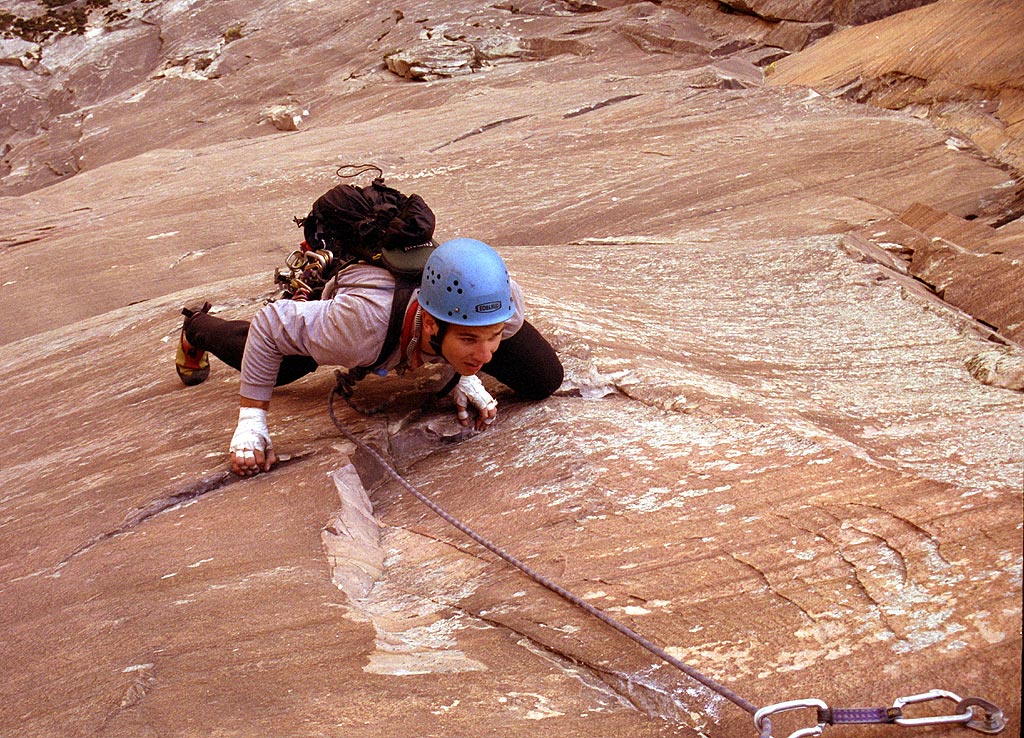
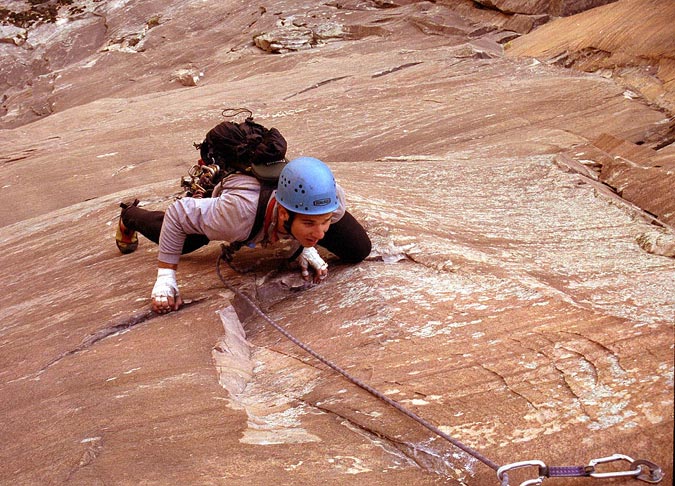
Following pitch 3, which involves some 5.11 climbing to get around a thin spot in the dihedral (or aid.) |
MA |
MI |
4/06/02 | ||
|
Easier ground on the 5.11 pitch 4. |
MA |
MI |
4/06/02 | ||
|
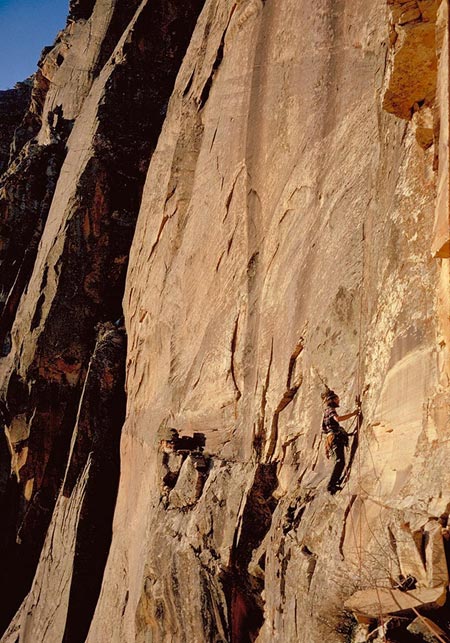
Leading pitch 5, another 5.11 (or 5.7 A1) pitch. |
MA |
MI |
4/06/02 | ||
|
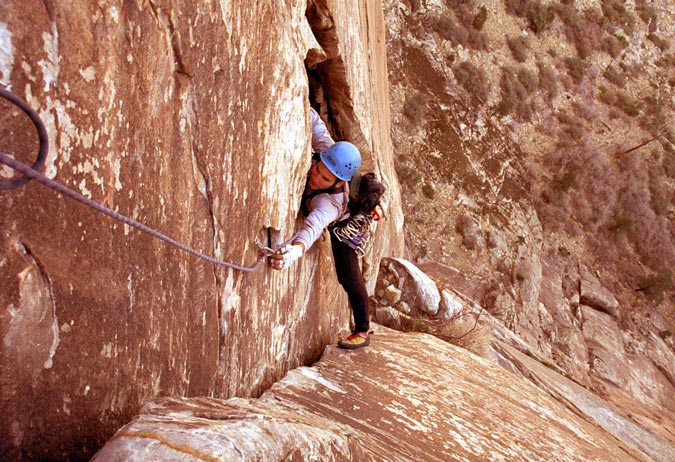
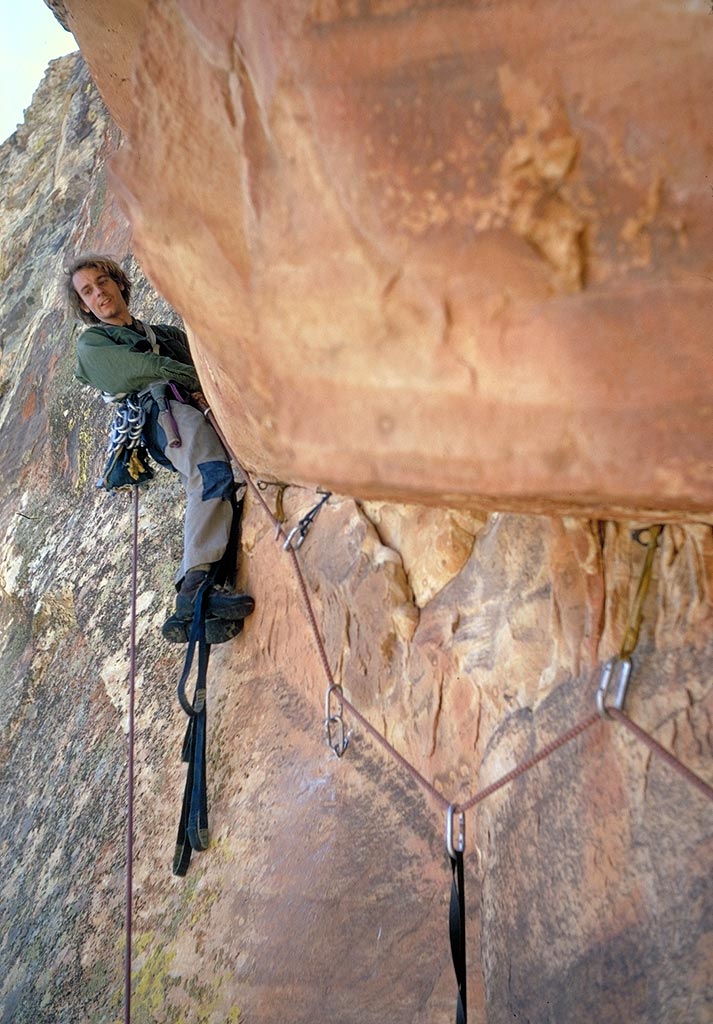
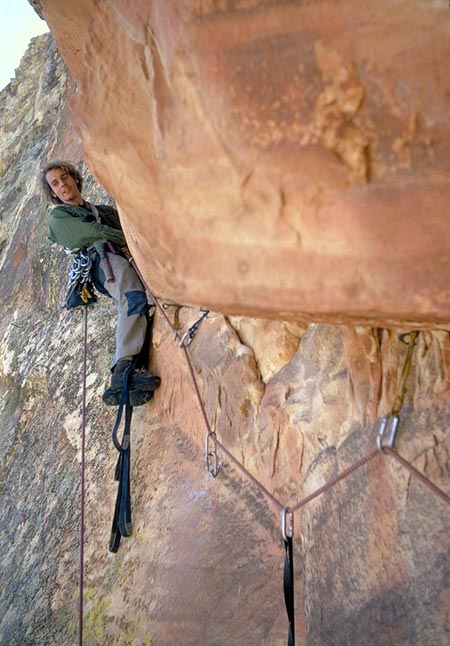
Making the crux free move around the roof on p. 5. The belay is a few feet above at the lip of the roof. |
MA |
MI |
4/06/02 | ||
|
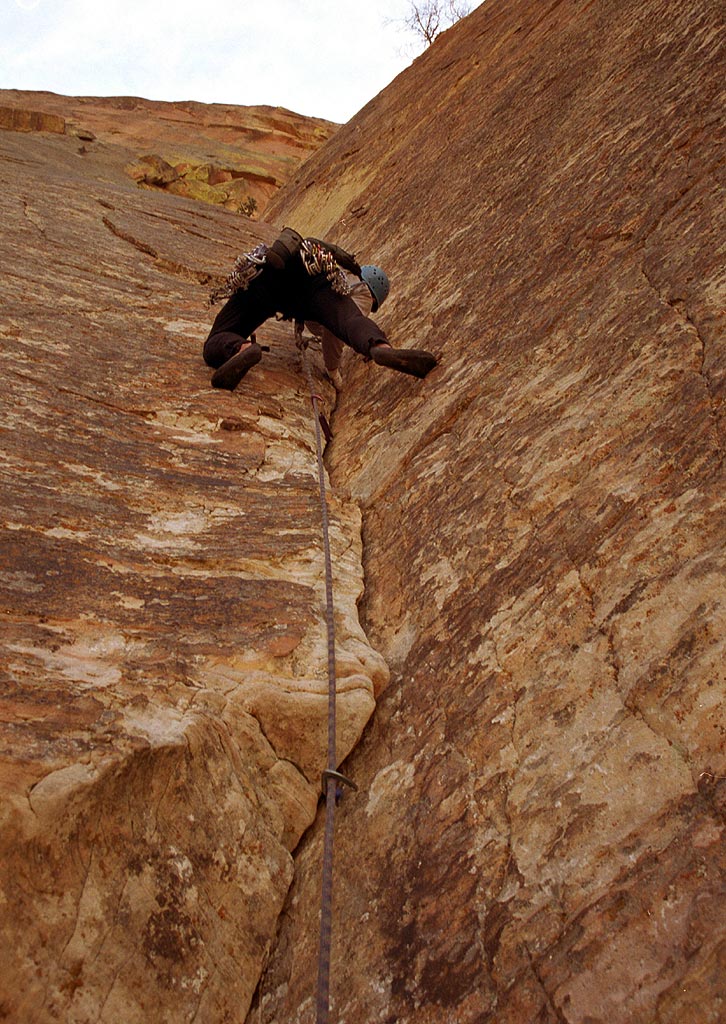
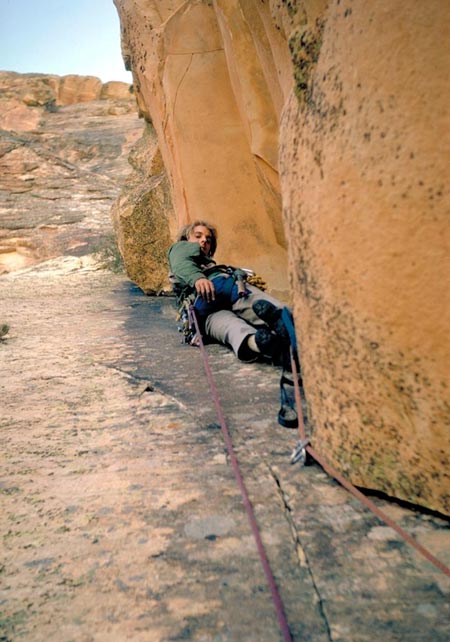
Leading a superb 5.10 layback, pitch 6. |
MA |
MI |
4/06/02 | ||
|
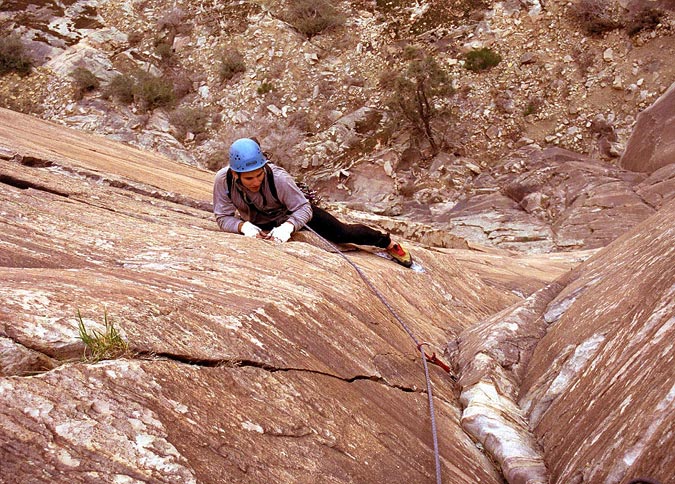
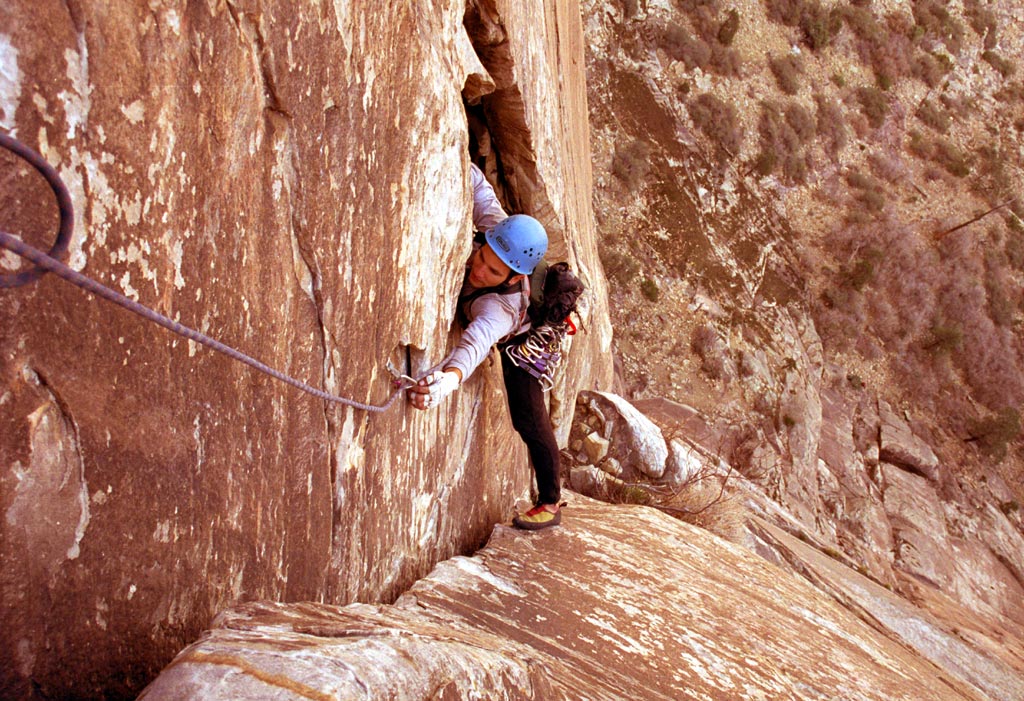
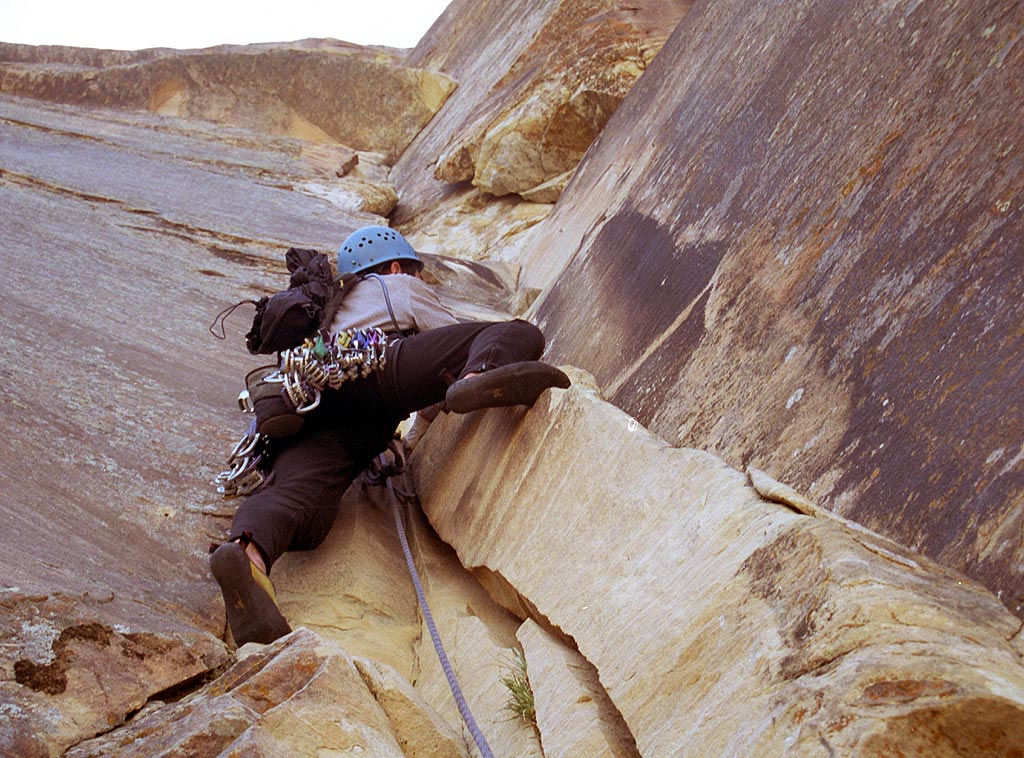
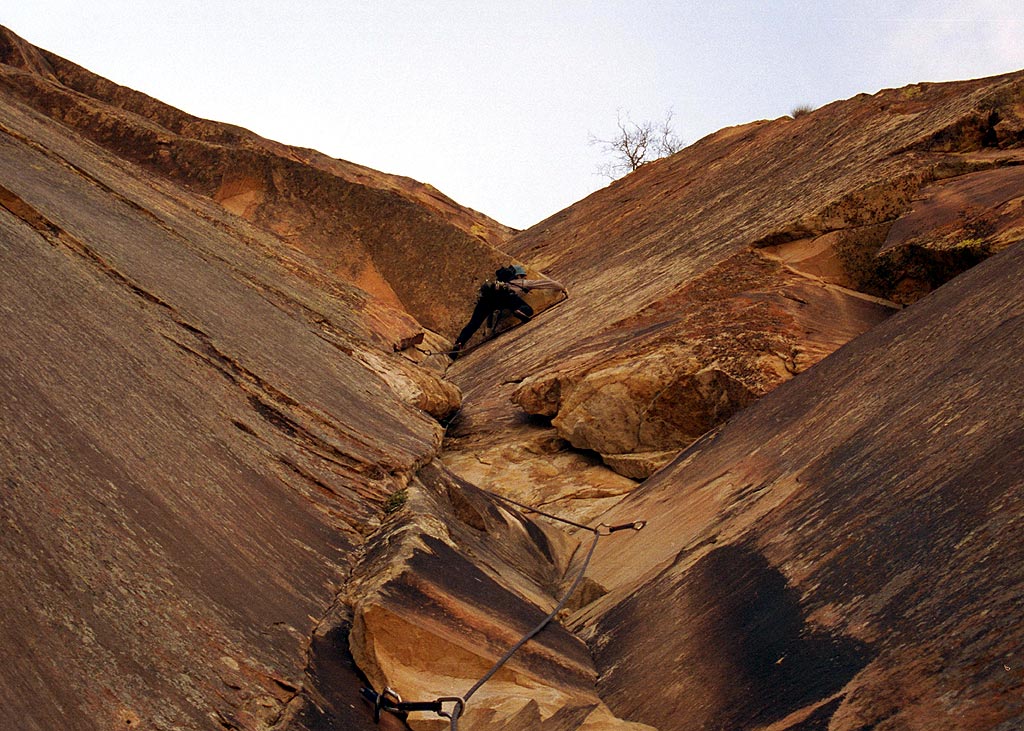
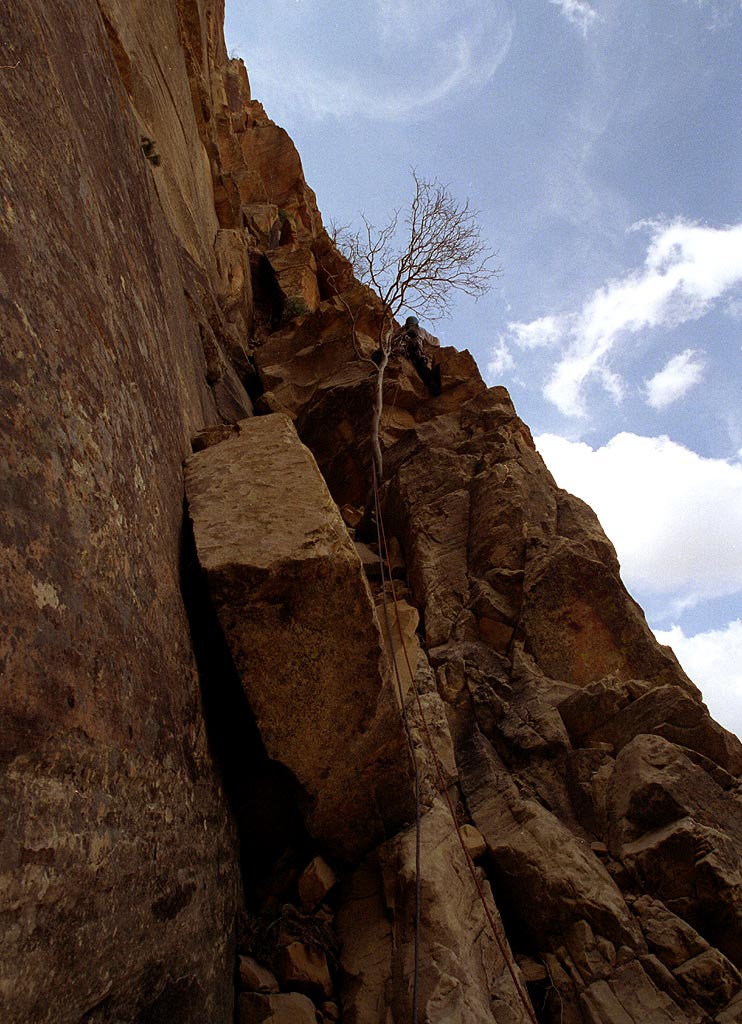
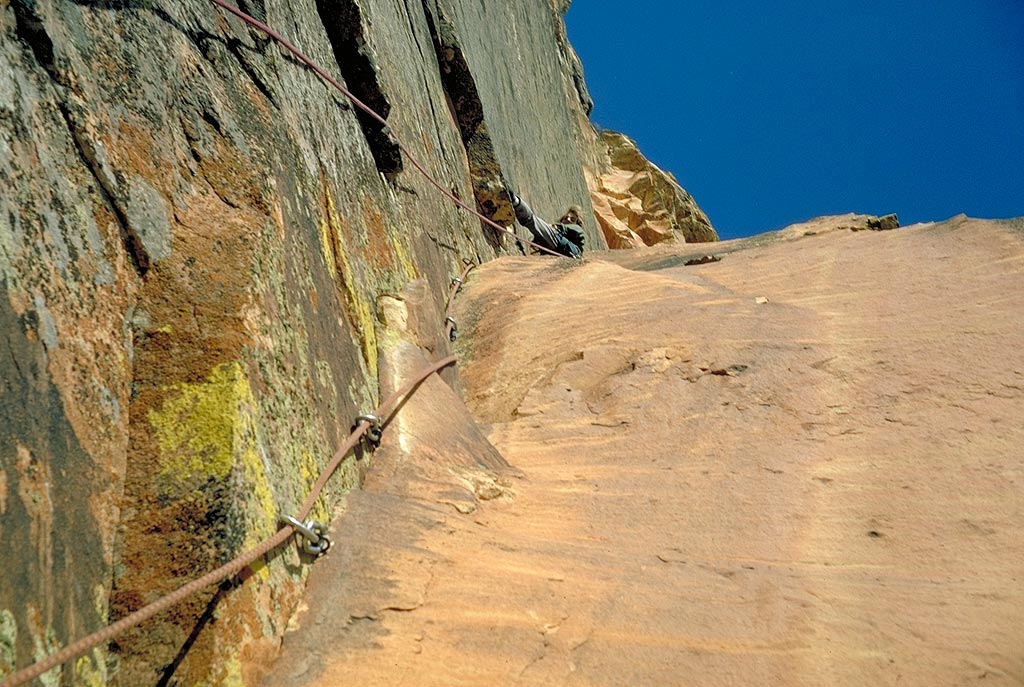
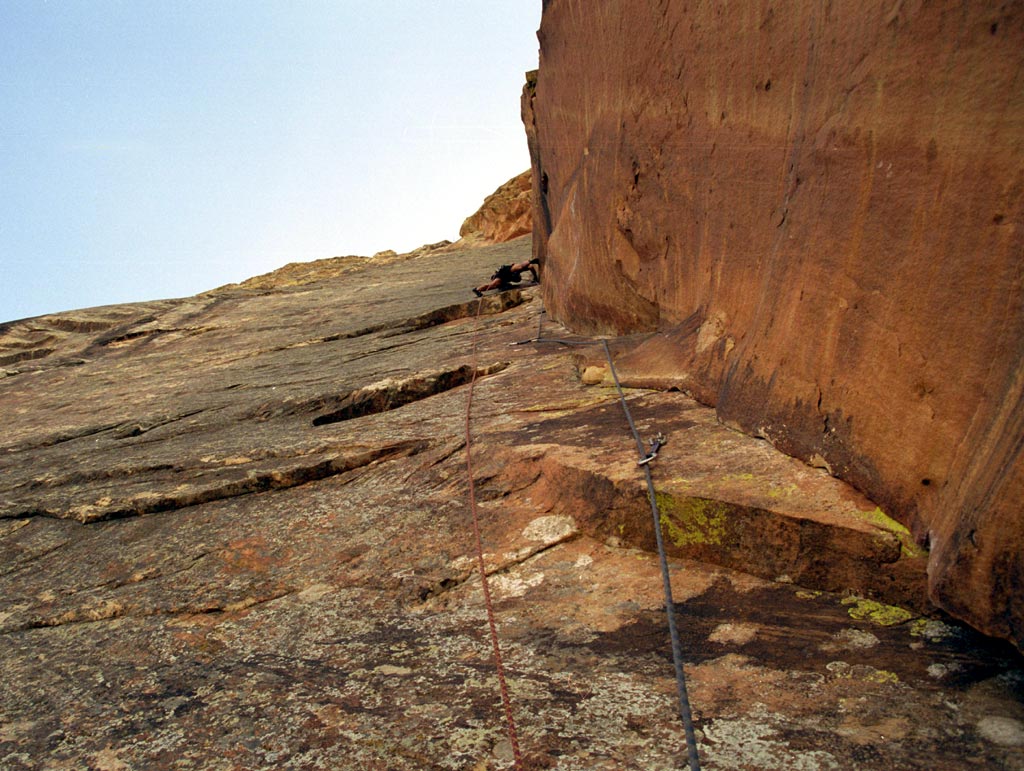
Leading pitch 7, a rising traverse to Over the Rainbow Ledge. Pitch 8 is similar. These are the only non-vertical pitches on the route above pitch 1. |
MA |
MI |
4/06/02 | ||
|
Leading a dihedral on the second day of the first ascent. |
LH |
JH |
4/73 | ||
|
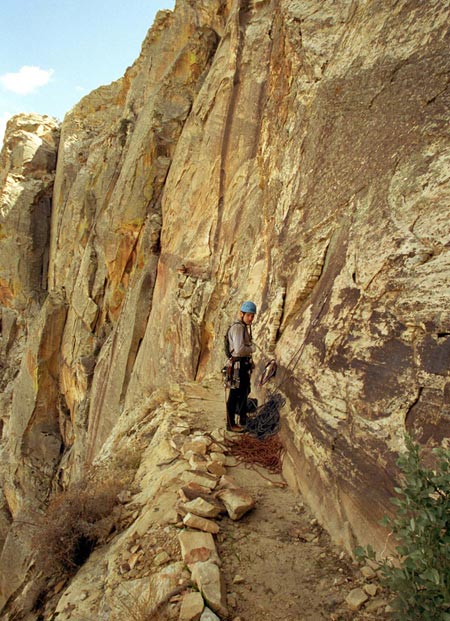
"Over the Rainbow" Ledge, the famous bivouac site. Headlamps are hardly necessary here due to illumination from the Las Vegas Strip some 10 miles away. |
MA |
MI |
4/06/02 | ||
|
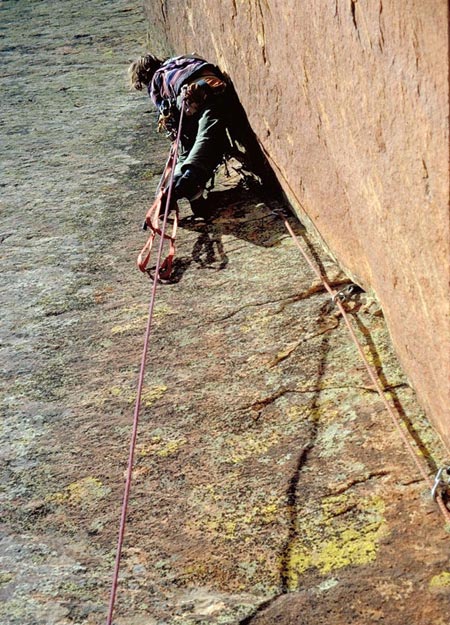
Leading the traverse pitch off the ledge, late on day 2 of the first ascent of the wall. There is no protection on this 5.7 traverse. This section and the summit overhangs presented the main uncertainties to the first ascent party. |
JH |
LH |
4/73 | ||
|
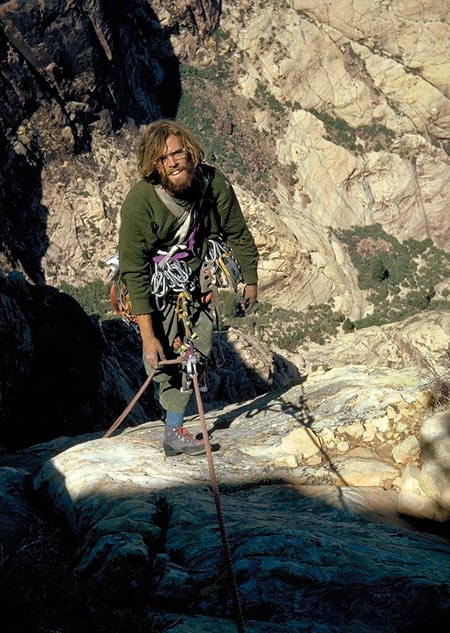
Jumarring pitch 9, early morning of day 3 of the first ascent. |
JH |
LH |
4/73 | ||
|
Aiding pitch 10 on the first ascent. |
LH |
JH |
4/73 | ||
|
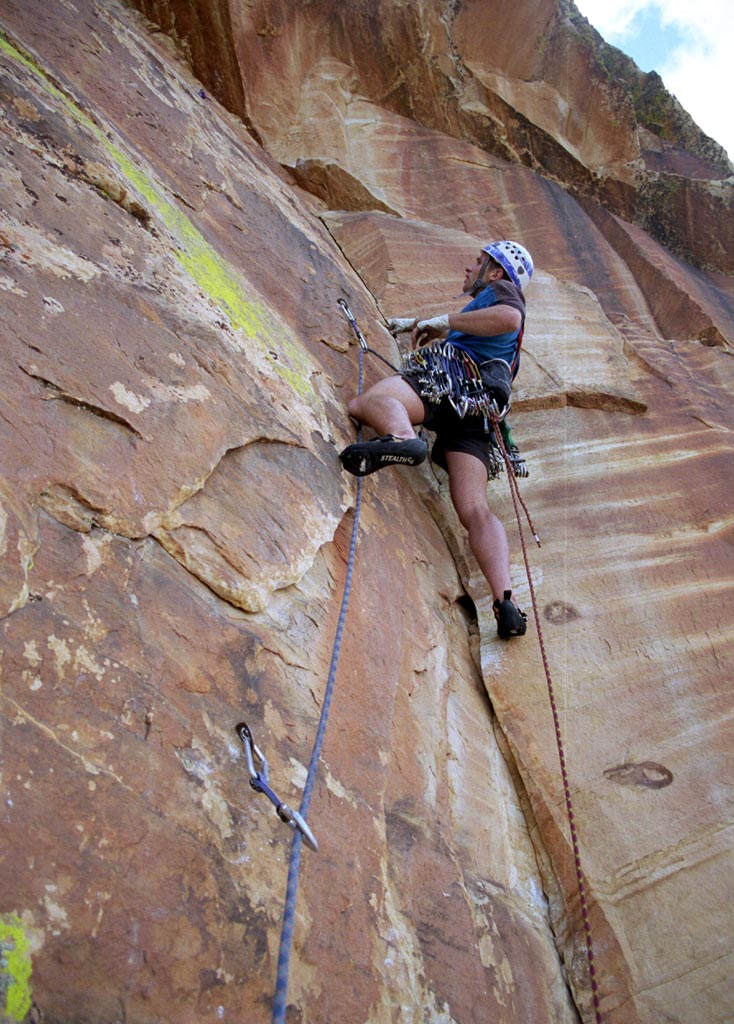
The same pitch, updated style. This pitch is either 5.12a or A2. |
MI |
MA |
4/06/02 | ||
|
Nearing the belay, pitch 10. |
MI |
MA |
4/06/02 | ||
|
"Nailing" the red dihedral, pitch 11. |
JH |
LH |
4/73 | ||
|
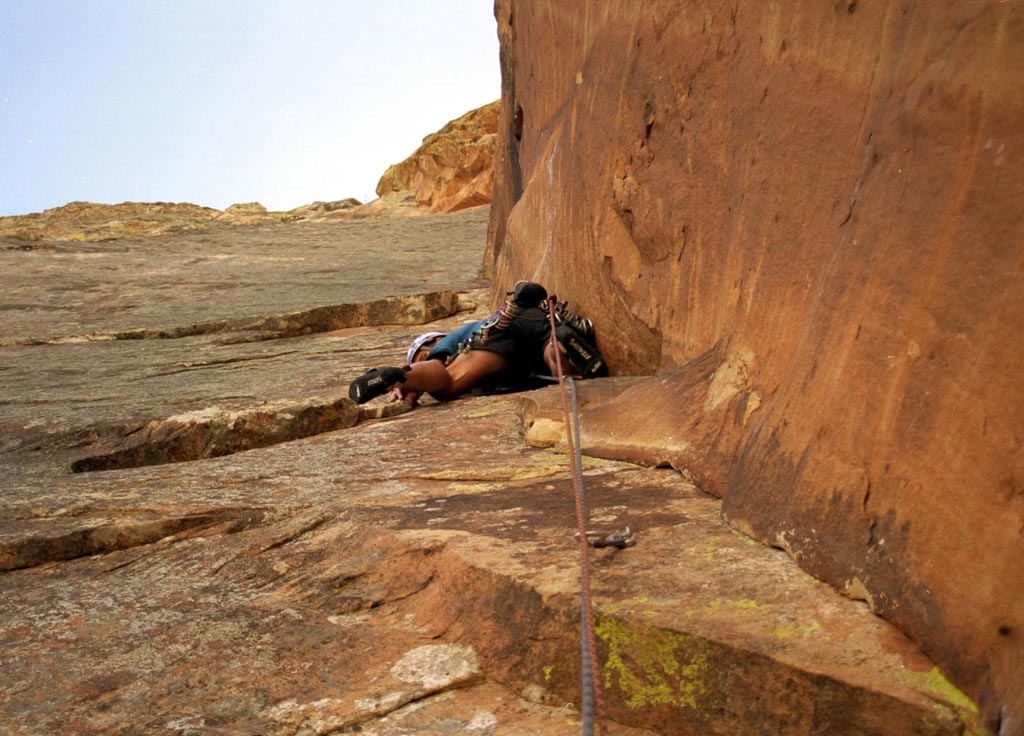
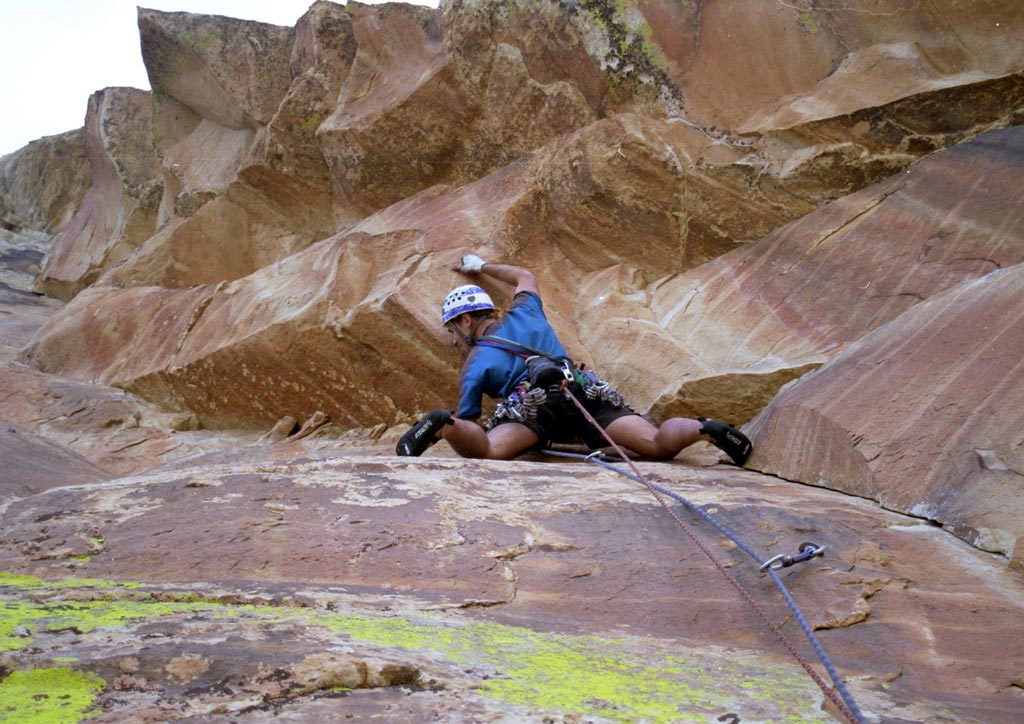
Starting out on pitch 12, the other 5.12b crux of the route. There are two cruxes on the pitch: the thin slab traverse into the crack below the climber, and the roof above. |
MI |
MA |
4/06/02 | ||
|
Leading the awkward crux roof on pitch 12. |
MI |
MA |
4/06/02 | ||
|
Larry Hamilton leading the summit overhang on tied-off knife blade pitons, day 3 of the first ascent. |
LH |
JH |
4/73 | ||
|
Joe Herbst arriving at the top of the wall after 3 days of effort and years of dreaming and planning. |
JH |
LH |
4/73 |
*Climbers & Photographers: Gary Clark, Lynn Clark, MA: Mark Anderson, MI: Michael Anderson, Joe Herbst, Larry Hamilton.